
Constructing a Basement Studio
The Bead Room AKA My First Workspace AKA MGS Designs Headquarters
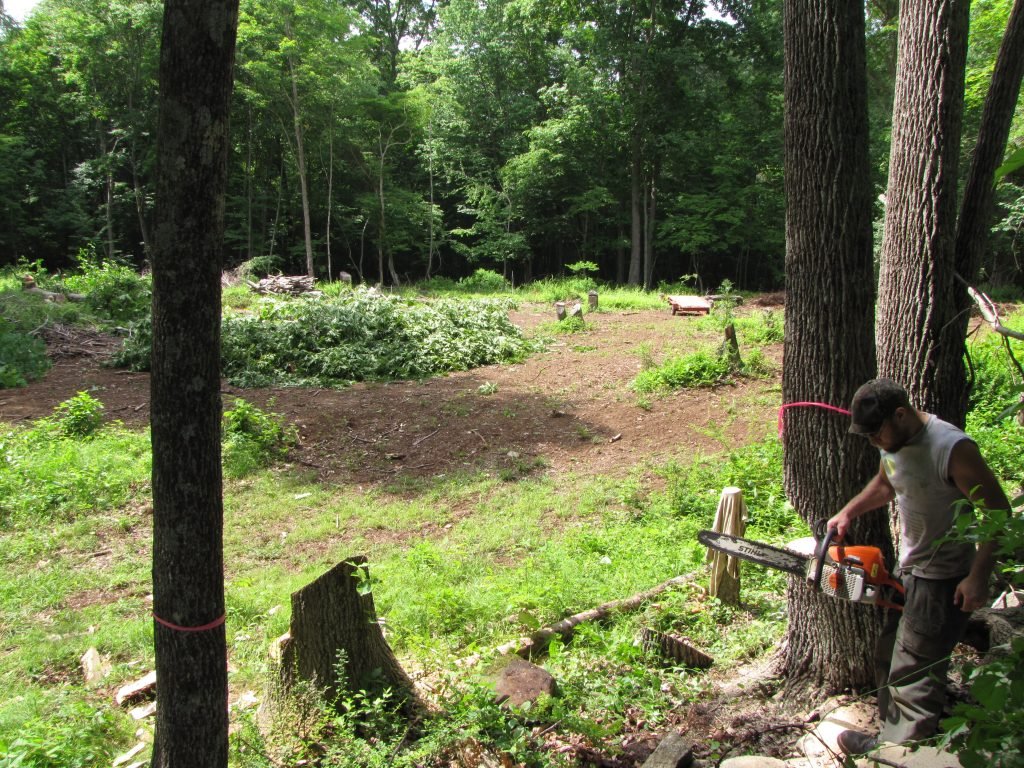
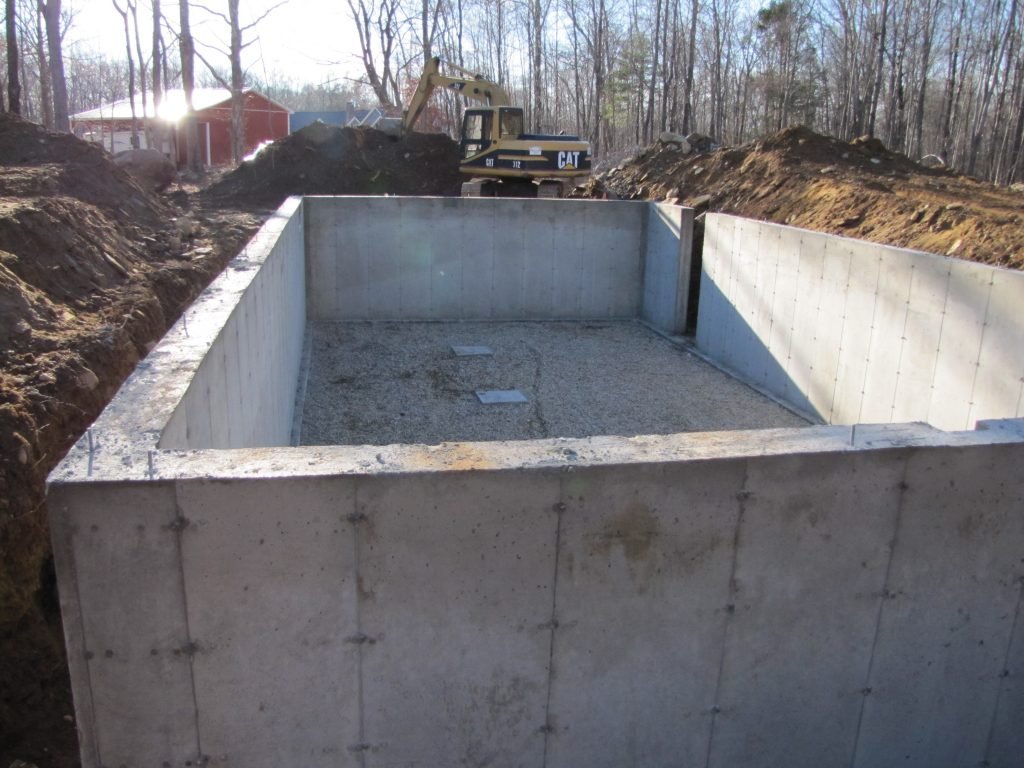
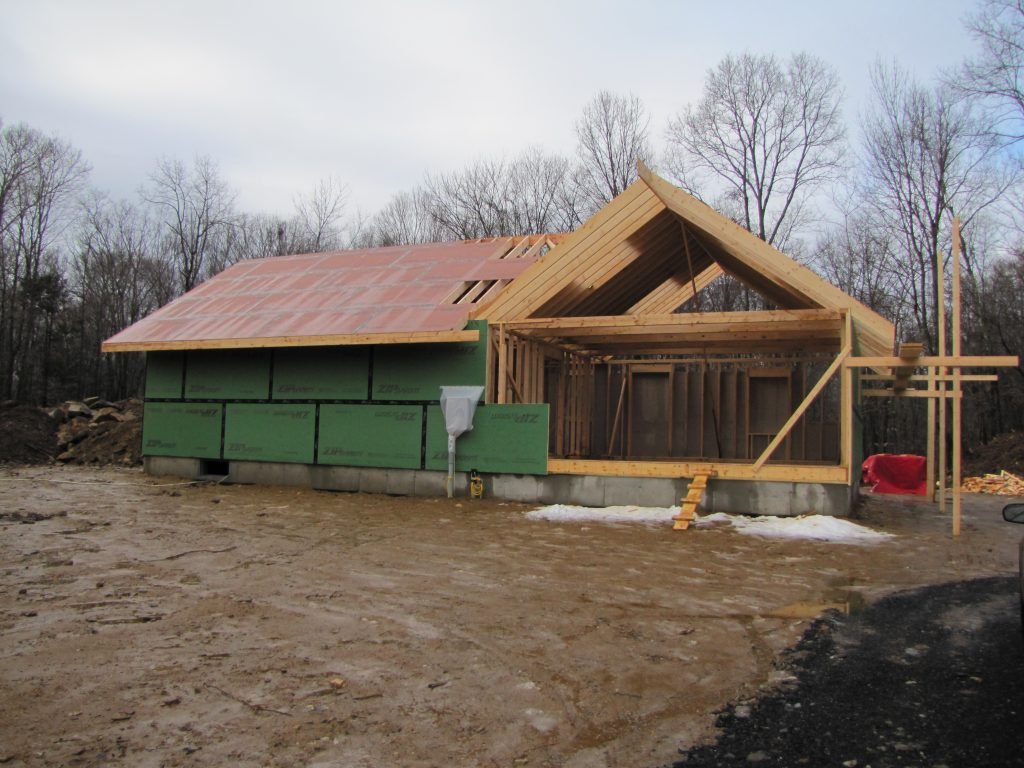
We began with building our house in 2015, and this unfinished basement...
My husband's Uncle Jay gave us some advice when we were in the early stages of planning our first home, which we were designing ourselves to meet the needs of our growing and disabled son Jack. Uncle Jay said "If you build a full basement, you'll never regret it. It's basically free living space." He was of course referring to the taxes one has to pay on living space in this part of the country, which for many of us, make up a substantial part of the mortgage payment each month. Nearly half of an average monthly mortgage payment here in New England actually goes to the yearly tax bill on a home. Not wanting to be taxed out of living in our own house, we designed a smart, energy-efficient, small ranch house, with a full eight foot basement thanks to Uncle Jay.
The Process of Planning and Designing the Finished Basement...
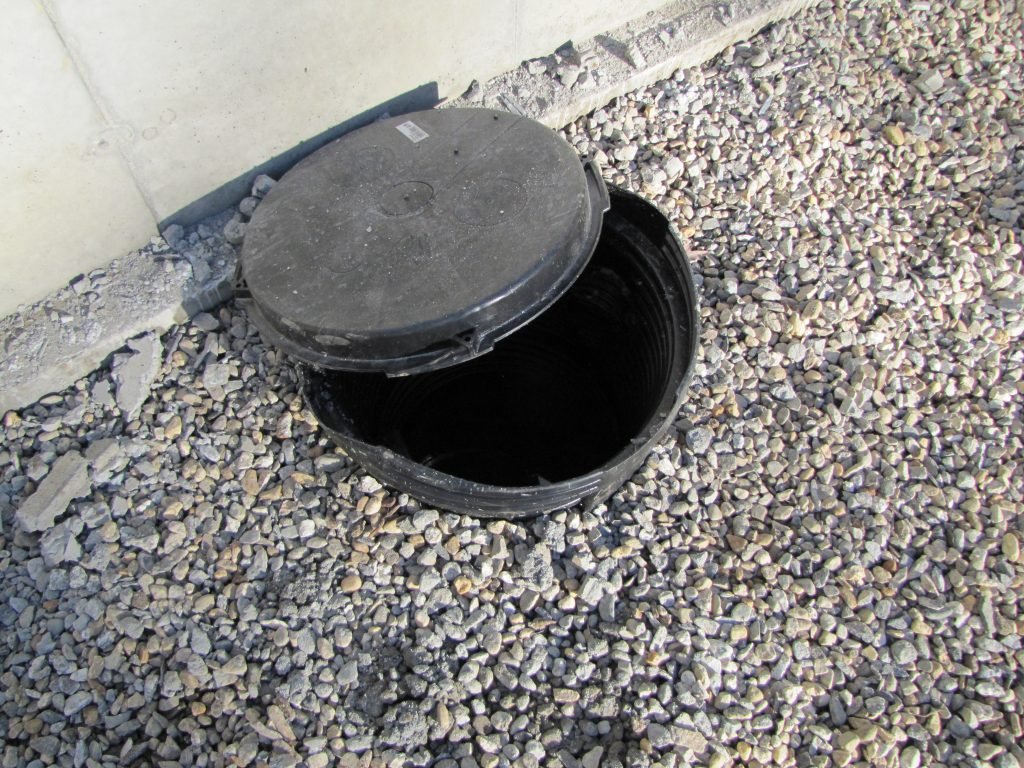
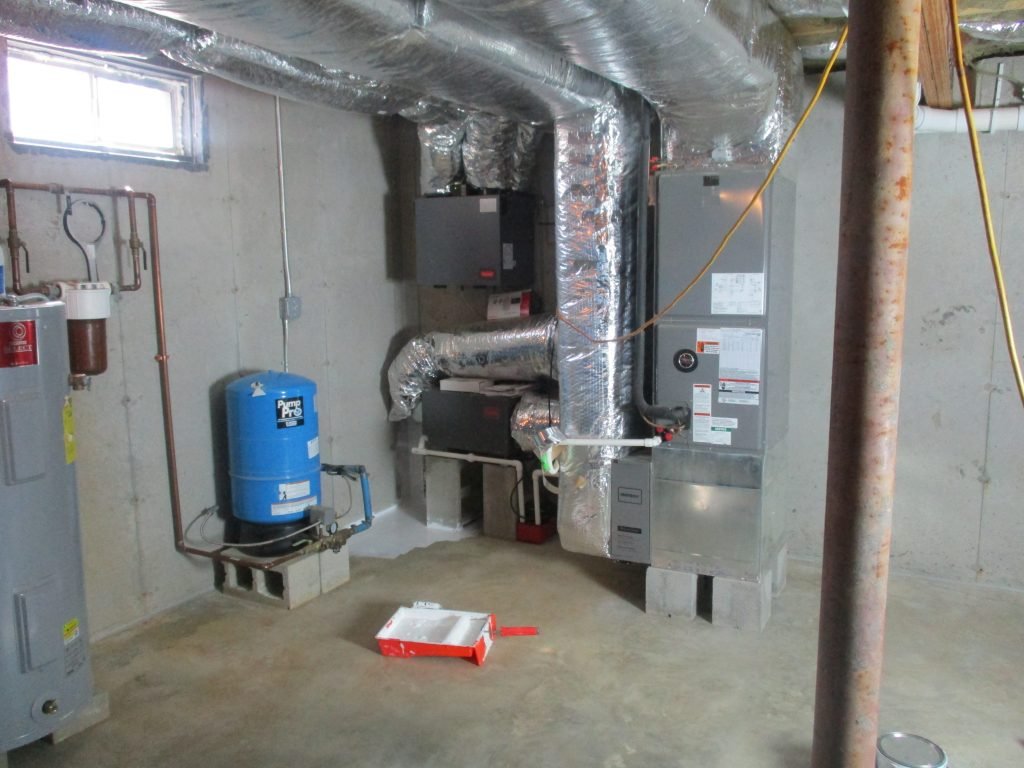
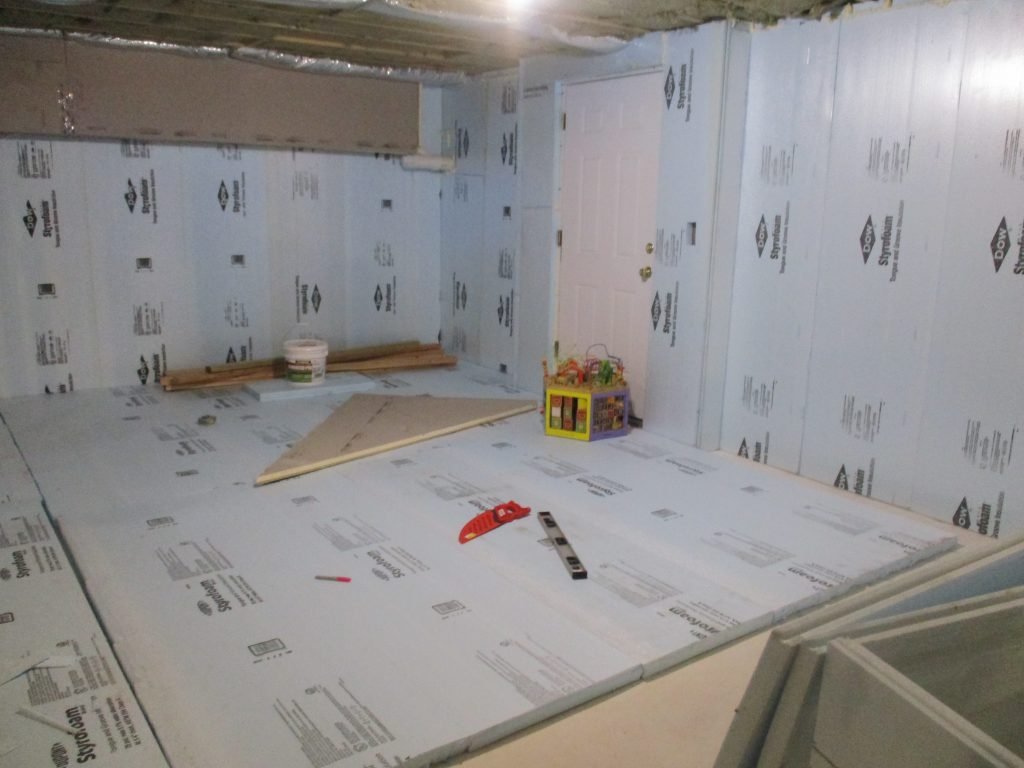
The two most important facts I took into consideration when designing the finishes for the basement, which entails picking materials and figuring out how to put them all together, were:1) Our property has a very high water table. This means there is water in the ground close to the surface, like streams running through the rocks and soil. This is common in our area and water can be found as close as twenty-eight inches below the surface of the ground at different times of the year. We have wetlands in our back yard too, where the water stays on the surface of the soil for long periods of time, due to the soil content. We installed a sump pump in our basement (first photo above) to pump out the water which collects underneath the concrete basement slab. This means there is almost always water present in the sump pit, and the basement walls are absorbing moisture from the outside, making the basement humid most times.2) It is cold in the basement most of the year. In the winter, the air temperature outside is frequently below freezing, and the ground from about three feet up can freeze. Below the three feet of soil, it generally stays around fifty degrees Fahrenheit all year long. This combination of temperatures makes the basement unbearably cold in the winter, but delightfully cool in the summer.
It came down to humidity and temperature control... and details...
I did hours and hours of research on how people finish their basements. There are proprietary systems sold by companies for tens of thousands of dollars, there are old standards that don't necessarily work for wet/humid basements, and there are ways to finish basements that don't require modulating the temperature. No single method of finishing a basement space was suitable for our particular basement situation, I thought.I consider our house a "good house," a term used by Richard Manning to describe a house that is built with consideration to its environment, the site and landscape where it is built, how its occupants will use it, and the aesthetic qualities of it. A "good house" fits into the landscape and is well suited to the lives of its occupants. Our house is energy efficient so we don't stretch our budget to pay for heating and cooling it. It is wheelchair friendly and accessible so our son can use all the rooms in it. It is oriented on our lot and designed to absorb heat from the sun to help with heating costs in the long New England winters. We used nontoxic materials in every place considerable and installed an HVAC system that circulates fresh, healthy air constantly and keeps the temperature and humidity at the same place all year long. In continuation with this attention to detail and planning in order to use the house for many decades to come, I knew I needed to address every detail, every crack, and every crevice in my design to finish the basement. I knew I needed a good amount of insulation to keep the space warmer in the winter, and to seal all sources of outside humidity from coming in. Building "good" reduces the amount of intervention needed in the future by mitigating these issues with the structure of the building envelope.I knew I didn't want to use wood as part of the building materials in the basement, simply because wood, even pressure treated wood over time, will absorb water and humidity. It can then rot and/or grow mold, and I didn't want to take the chance of either of these things happening in the near or distant future. This was truly the most challenging part of the design because almost every basement finishing system involves some type of wood for structure and to house insulation.
My Basement Finishing System
I'm calling this mine. Because I designed it. I used my common sense and knowledge gleaned from taking two years of construction technology courses at a local college, then building this house. I consulted my brilliant professor, John Lombardi, about some of the particulars of the basement. I read product manuals. I talked to representatives of the manufacturers of these products. I am incredibly confident in this system I developed, which as far as I can tell from scouring the internet, is unique.
Rim Joist Insulation
What the heck is a rim joist, you might ask? The rim joist is the piece of wood to which all the floor joists of a house attach, both of which rest on a sill plate which rests on the top edge of the foundation walls. In this area of the rim joist, the wood that makes up the rim joist, plus the exterior sheathing of the house (in our case, vinyl siding) are the only things between the insulation in the bay of the floor joist and the cold or hot outdoor air. Moisture can migrate in through this space and heat can escape. Most importantly, however, temperature and humidity differences between the outside and inside of the basement can cause condensation in this spot on the wood, especially because there is rockwool insulation over it, which slows down air flow but does nothing to prevent moisture from passing through.
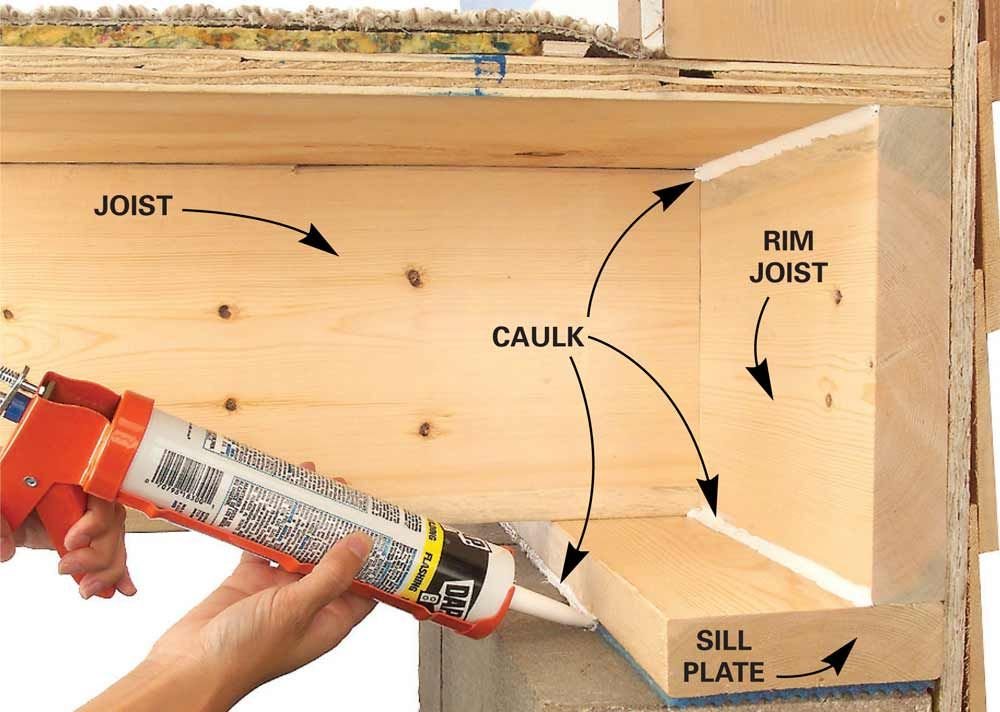
Having read many many blogs and articles on basement insulation, I knew these areas needed to be sealed and insulated with rigid foam insulation to prevent the movement of moist air and help further insulate this space. This process involved a TON of detail work before I could even think about getting to the wall and floor surfaces. The first thing I did was remove the rockwool insulation from the floor joist bays near the rim joist. What a pain in the toosh that process was. To work safely with rockwool, which is spun mineral fiber, like fiberglass, I had to wear a full protective bodysuit, long gloves, an N-95 respirator, plus safety glasses. Those little rockwool fibers are super irritating to the skin and potentially damaging to the lungs and eyes. Safety first, but it's hard to work in all that gear. The glasses fog up, it's hard to work with your hands wearing thick gloves, and the bodysuit gets incredibly hot. I did this in the portion of the basement that was to become the mechanical room and my work area. I still have 2/3 of the basement to which I have to do this, and I'm not looking forward to it.Then I had to cut 2" rigid foam XPS to fit in the rectangular space on the surface of the rim joist between joists. I applied glue to the rigid insulation and stuck it in place, then applied a bead of expanding spray foam insulation all around the edge of the rigid foam rectangle to seal any air gaps.
Sealing the basement floor and walls
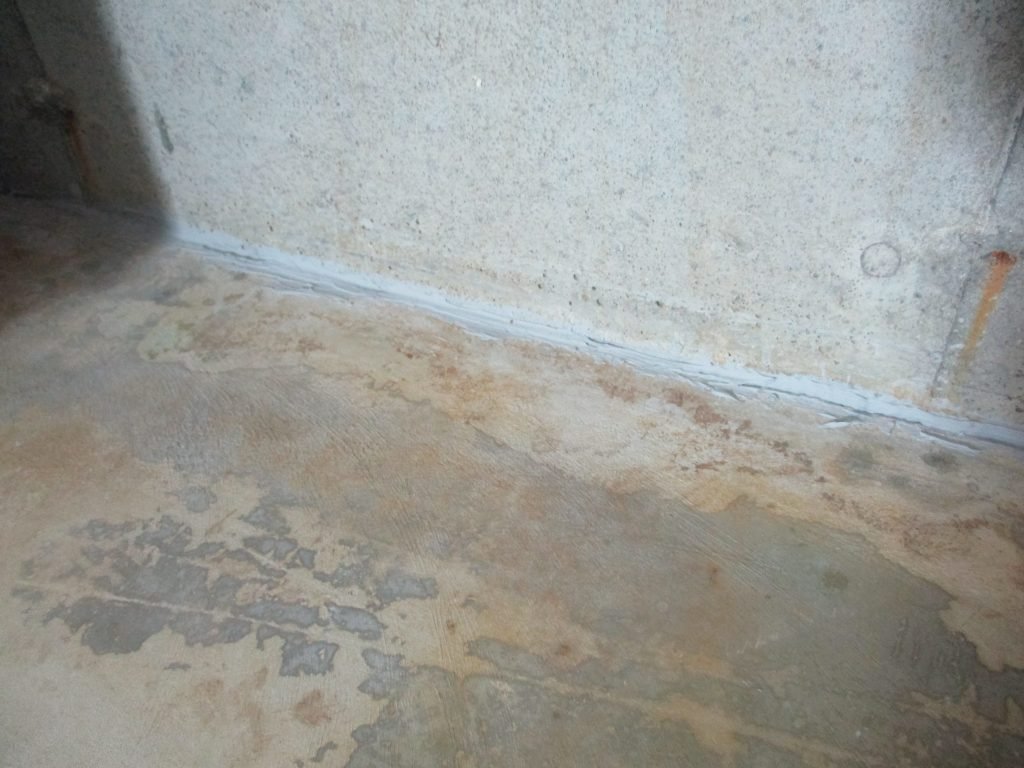
I read over and over again, if you have a sump pump in the basement, or generally have a humid basement and water issues, prepare for a flood. The basement might be dry right now, but at some point, somehow, some day, the sump pump will fail, the battery backup sump pump will fail, and your basement WILL flood. This is just something that's bound to happen. I designed my basement finishing system with that in mind. I wanted to make sure that when this unavoidable disaster did happen, it wouldn't ruin my floor or wall system. I also wanted to prevent water from seeping into the basement through any cracks or crevices. When a foundation is poured, there is purposefully a gap left between the walls and floor of the basement, to allow for expanding and contracting of the slabs of concrete with temperature changes. Without these gaps, the concrete floor would inevitably crack. To prevent water coming in the exterior gap between floor and walls, I put a 1/2" poly foam backer rock in the cracks then filled the remaining space up to the floor surface with Dap concrete siliconized sealant. That way, the gap is filled but the filler can expand and contract as the concrete does.
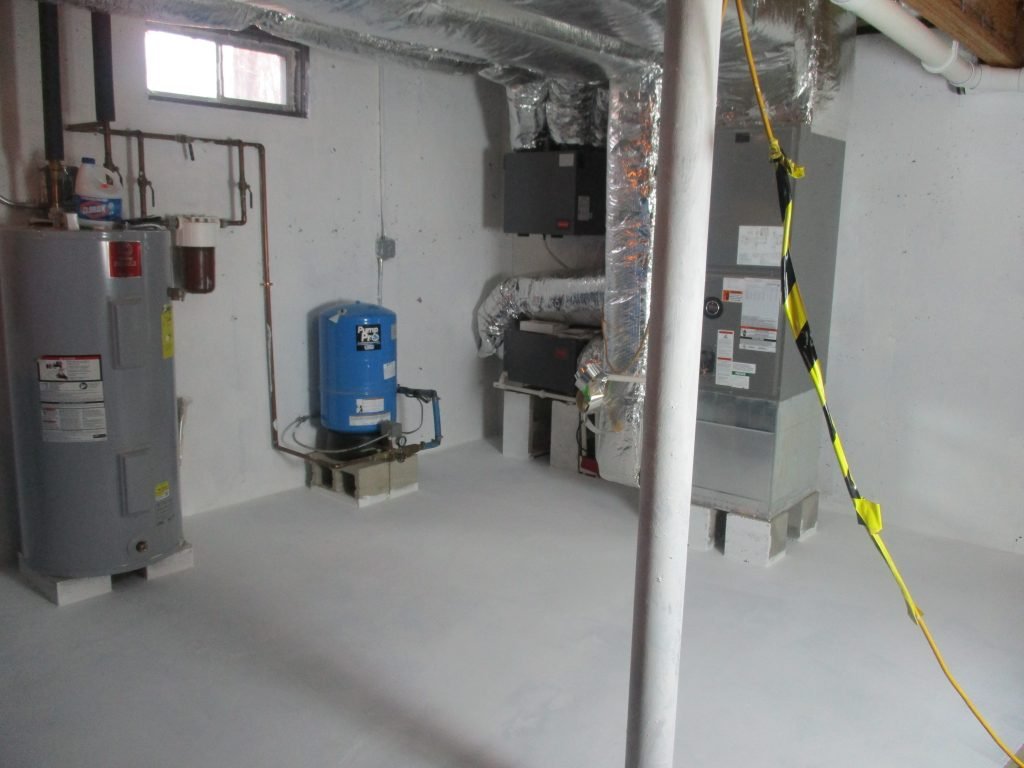
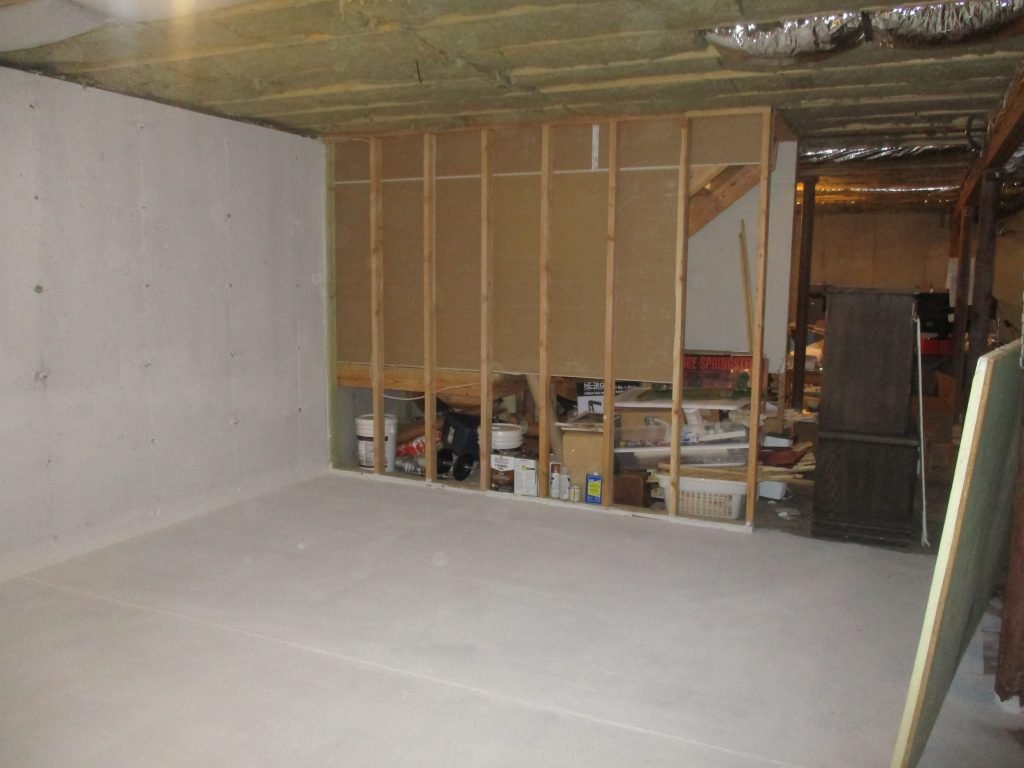
Sealing also meant painting waterproofing paint over every concrete surface to prevent moisture from wicking through from the ground to the interior walls. Concrete is porous and will just hold moisture. I chose white paint to easily tell where I had and hadn't painted first and second coats, plus I like a bright, light-reflecting color for the utility room. The walls got one coat and the floor two coats. I used Drylok Extreme.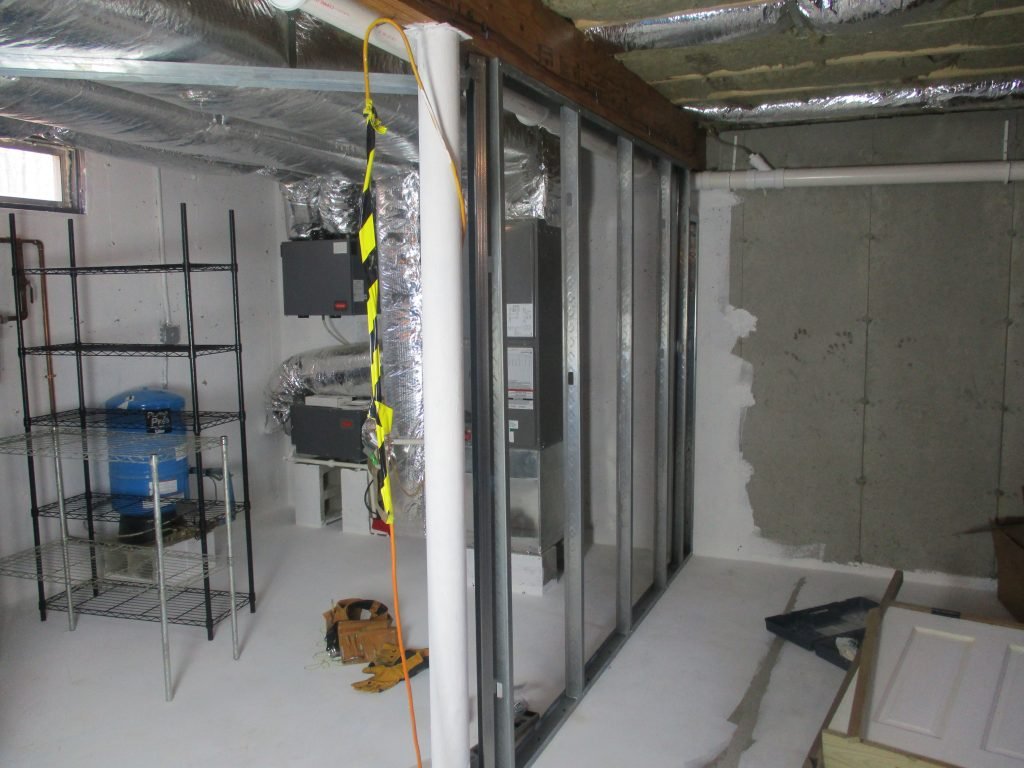
Creating a Utility Room
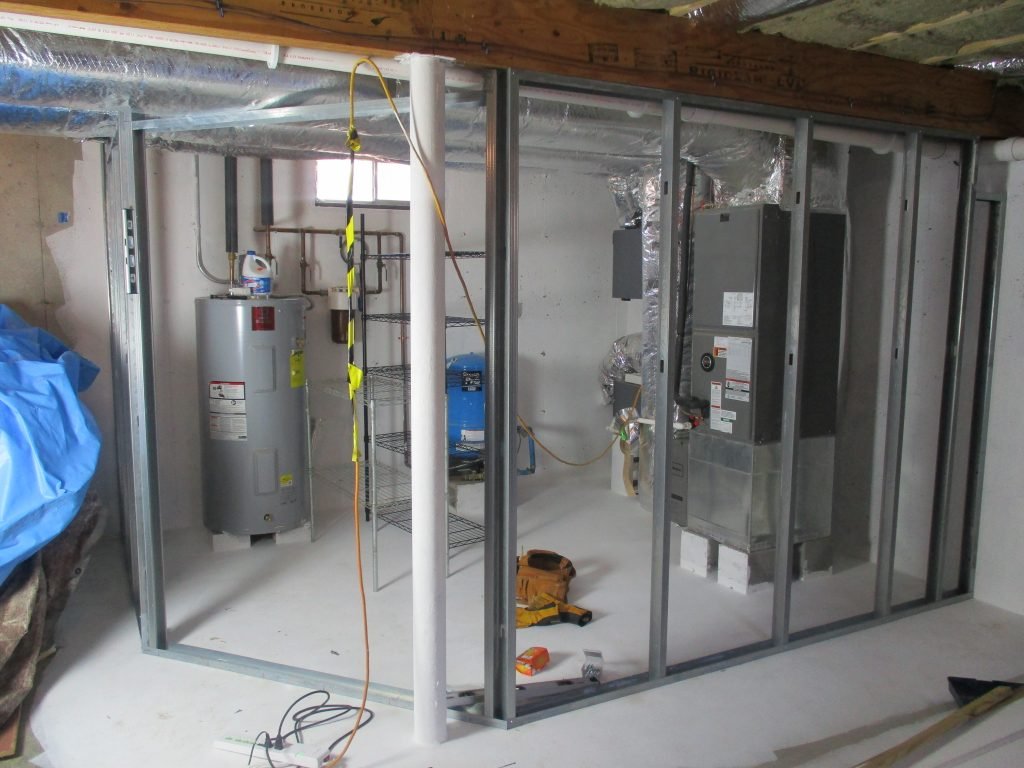
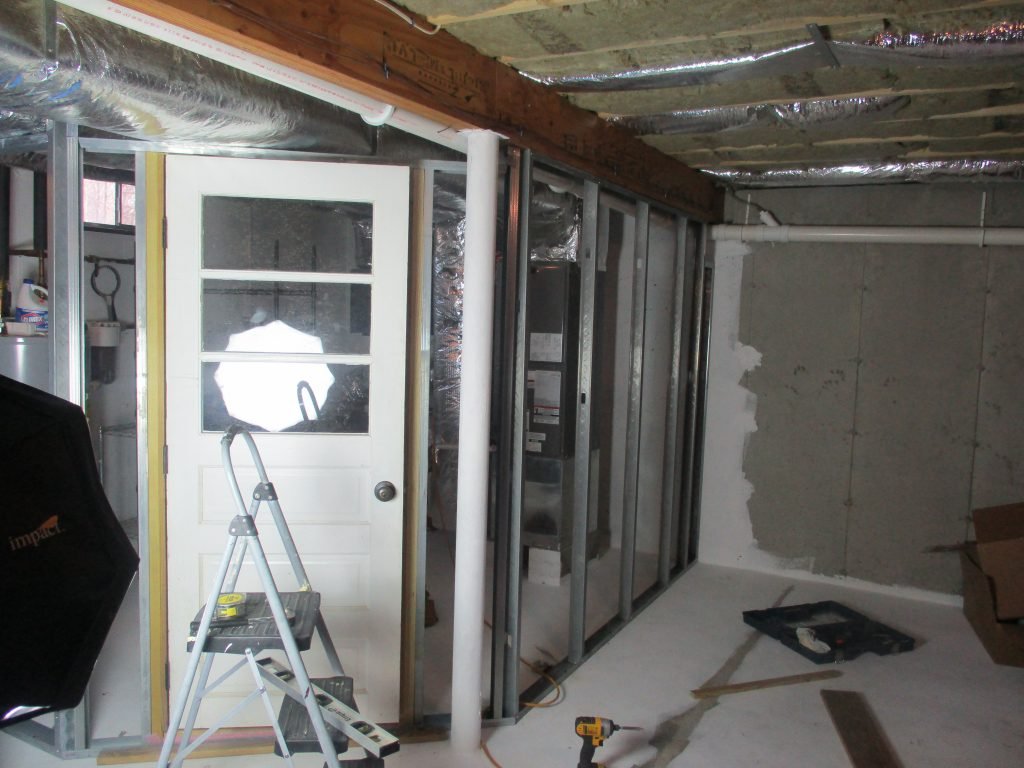 One of the first problems I ran into after considering how to insulate the space was the fact that some of the HVAC equipment and plumbing pipes in the corner of the basement are attached directly to the wall, with no gap left for insulation. I realized that I couldn't insulate this space the way I wanted to insulate the rest of the basement, so this area would have to be separate from my insulated space. I had to create a room around the equipment. Since I didn't want to use wood in any of this process, my only option for framing was to use steel framing. I watched a few YouTube videos about how to install steel framing and was confident I could handle the process. I actually loved working with the steel. I cut it with metal sheers and screwed the studs together with sheet metal screws. I attached the bottom stud to the concrete floor by drilling holes with a hammer drill and concrete drill bits, then used concrete screws to secure the bottom rail to the floor. I attached the top stud to the wood of the ridge beam and floor joists using wood screws after puncturing the steel with a sheet metal screw. It was helpful to have an impact driver with an almost infinite set of bits for this process. I had to get creative in the areas where ductwork and pipes were attached to the basement ceiling, cutting different sizes of studs to fit on top of horizontal studs to make everything secure. This part was actually fun!I created three walls for the room, two steel walls perpendicular to the basement walls, then one smaller diagonal wall connecting them, for the door. This diagonal wall was partially a functional and partially an aesthetic choice. The door in this position would make the utility room easily accessible either from my workspace or the other areas of the basement. By installing a door with a window in this diagonal wall, I could still see the natural light from the basement's only window while both in my workspace or in other areas of the basement. I had already picked out this door for some other purpose when building the house, but it had been set aside because it didn't work in the space. I was happy to be able to use it! I did end up having to use some wood in the door framing, there was no getting around it. So I chose ground-contact rated pressure-treated wood to try to prevent rot for as long as possible. I also made sure the wood had no direct contact with the floor by propping it up using plastic spacers and rigid foam insulation.
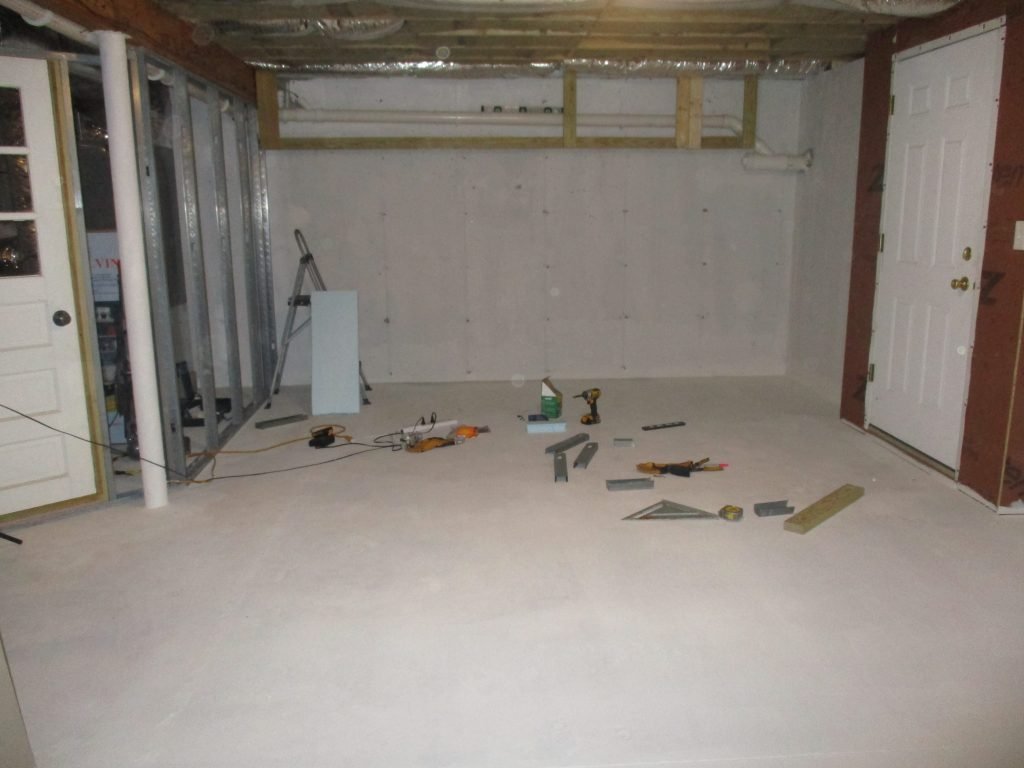
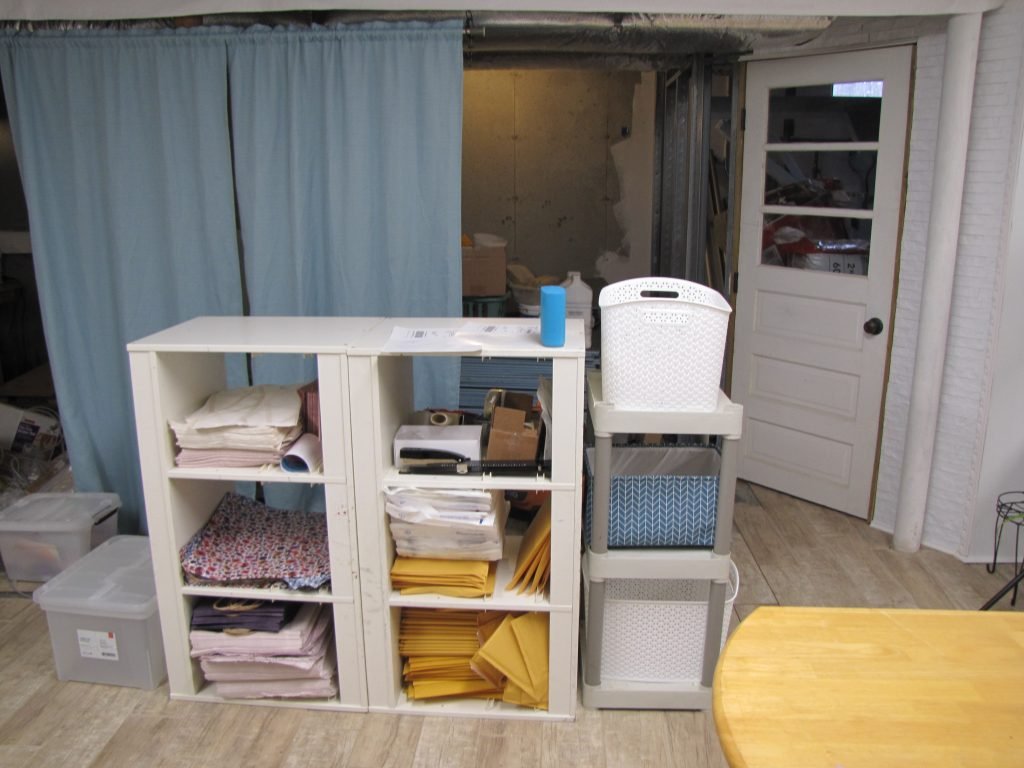
A Problem Area - The House Waste Pipe
I asked a plumber if it would be possible to move the waste pipe away from the basement wall to allow me to put insulation between the pipe and the wall, and his short answer was "no." It would just be too much work to do so for what it was worth. So instead, I decided to build framing to isolate this area from the rest of the basement so I could insulate around it. I attached short pieces of metal studs to the wall, attached a pressure treated stud to that, and then connected that to the basement ceiling joists with wood screws.To close the framing off, I used Zipwall panels which were leftover from the outside of our house.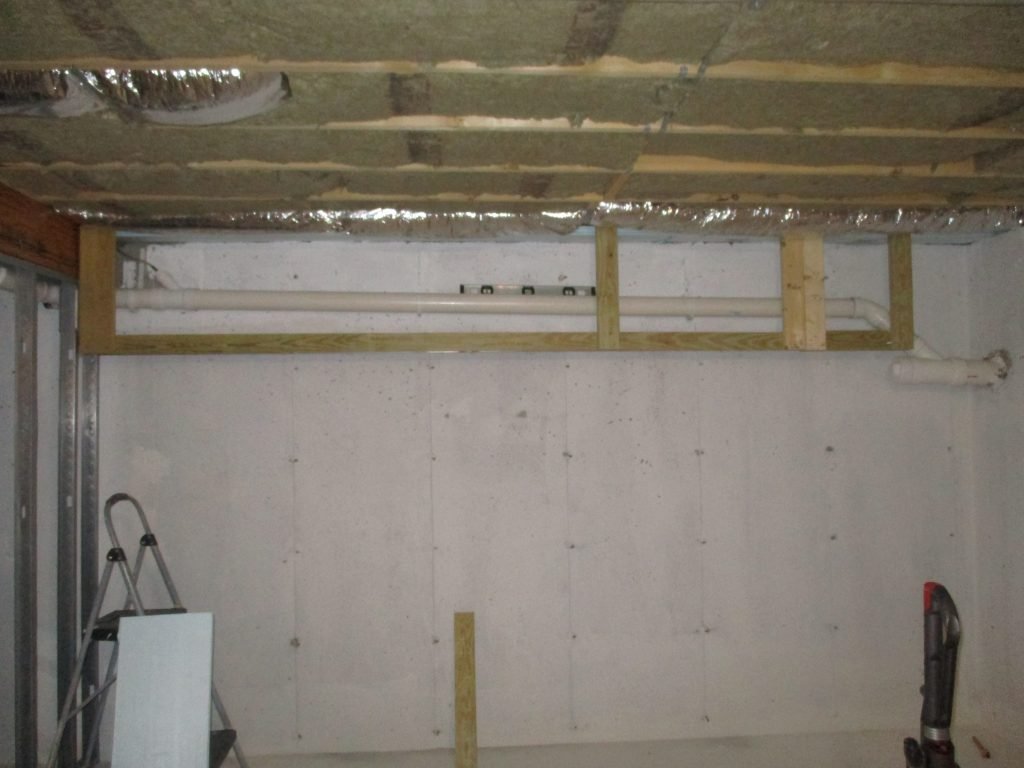
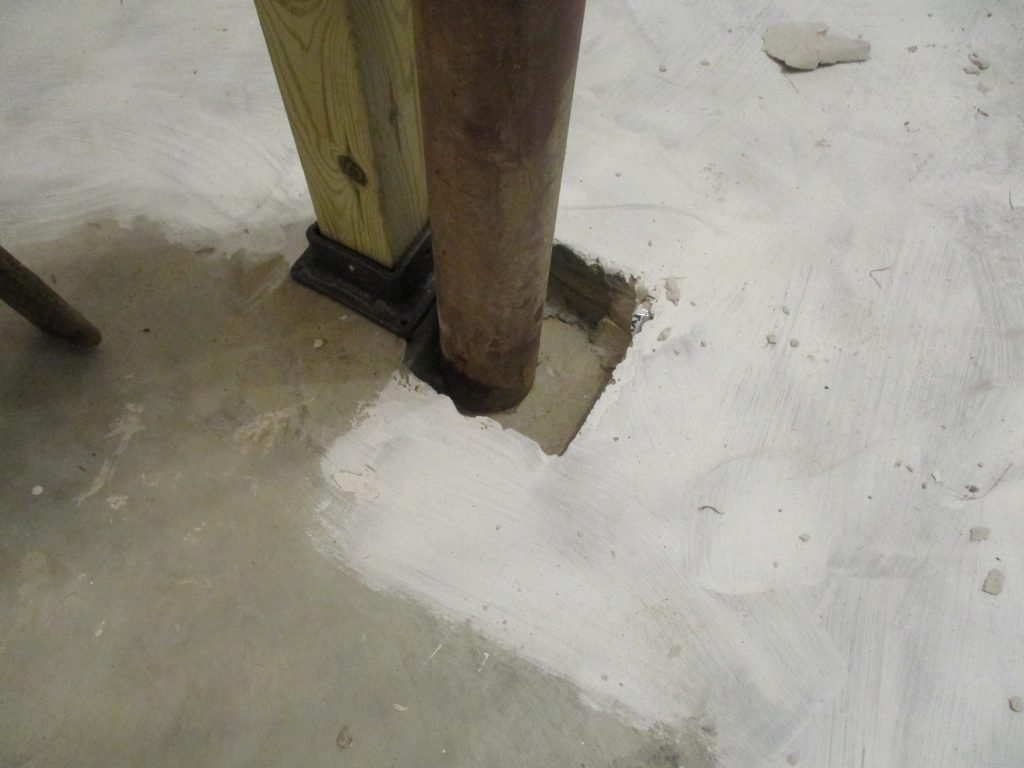
Side Quest: The Great Waste Pipe Flooding of 2020
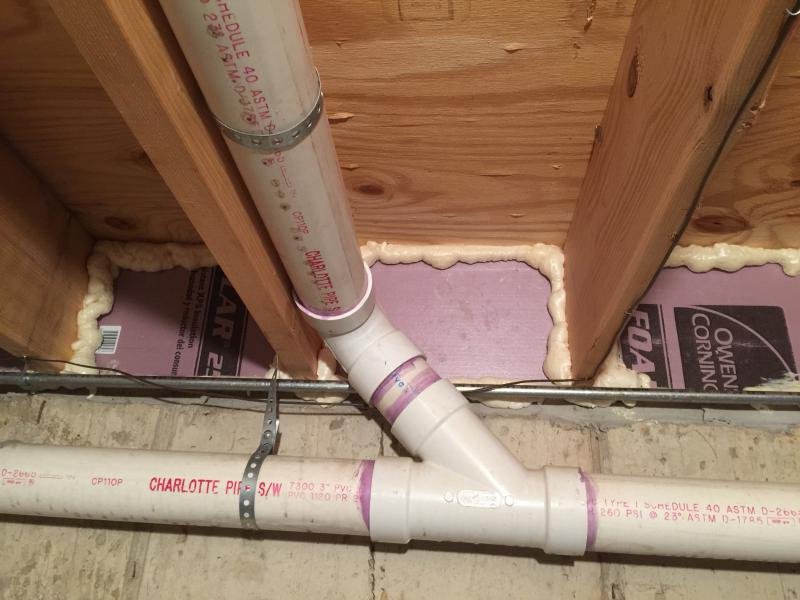
I came downstairs one day to work on my basement finishing and discovered a pool of water in my future workspace area. I had no idea where it came from. It took several days and several rains for me to discover it was coming in through cracks between the waste pipe and the concrete around it. Whatever the contractors had used to seal this space wasn't doing its job. When I dug up the waste pipe outside to examine the sealant, whatever the builder used just crumbled off the pipe.I bought a two-part epoxy sealant that could be used under water (so you know it's the good stuff) and after cleaning up the area, applied it to the space where the pipe and foundation met.
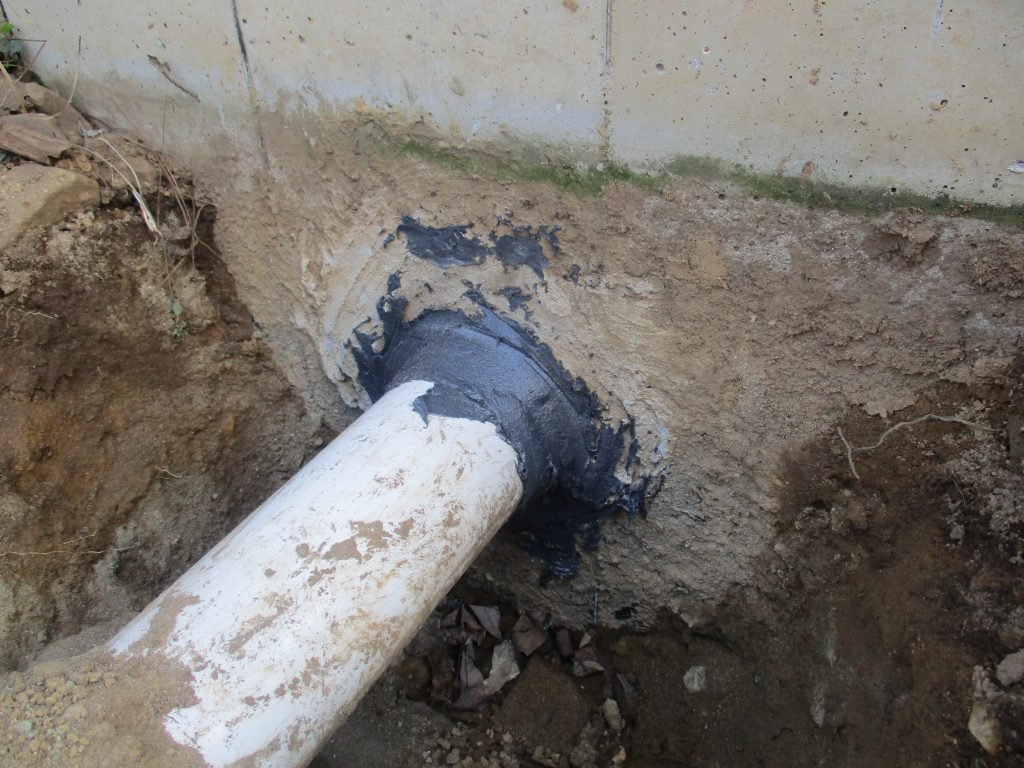
I also sealed up the inside with the same good stuff, and after several more rains and no flooding, I felt confident I could move on to the next step.
The Staircase - A HUGE Puzzle
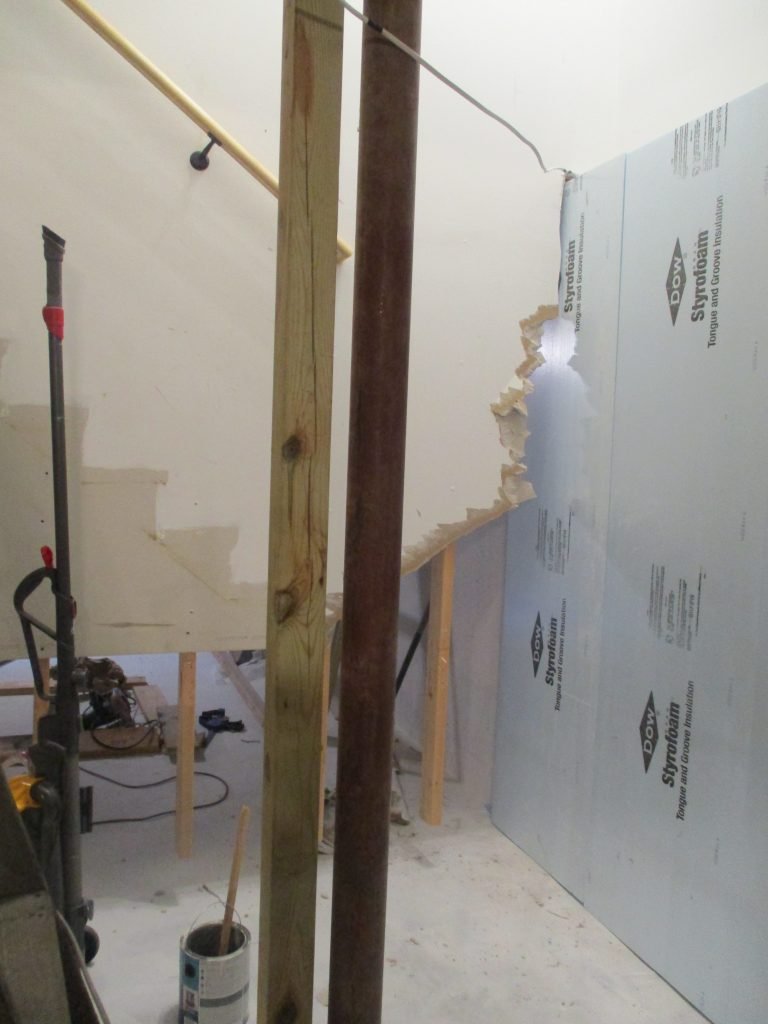
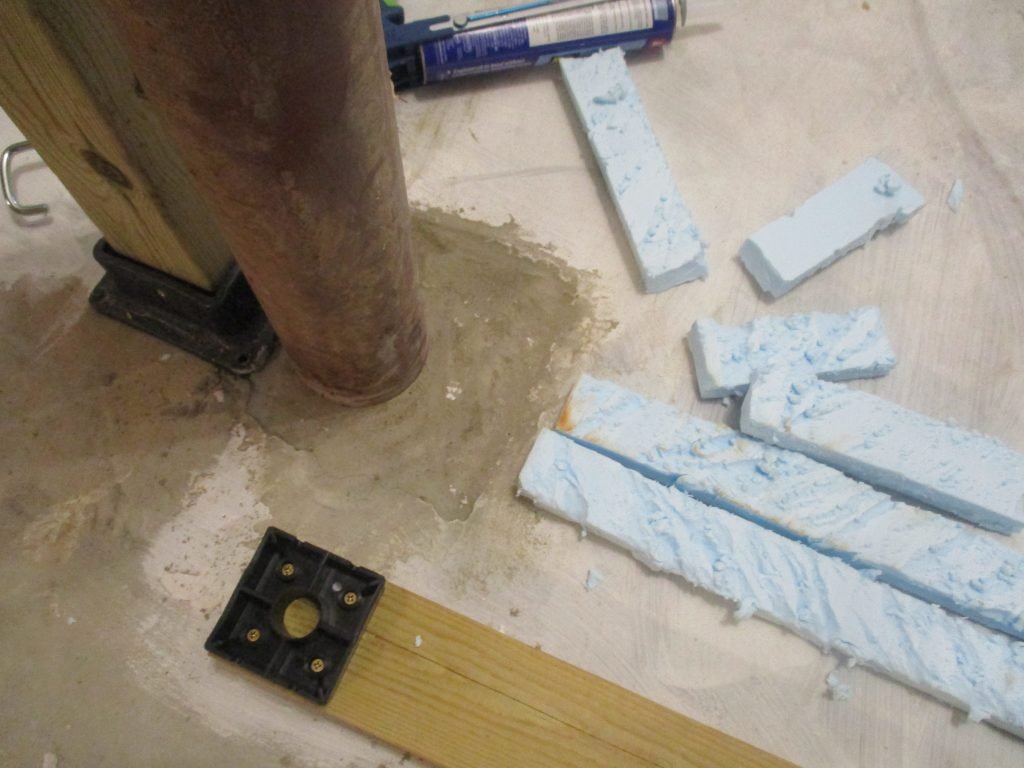
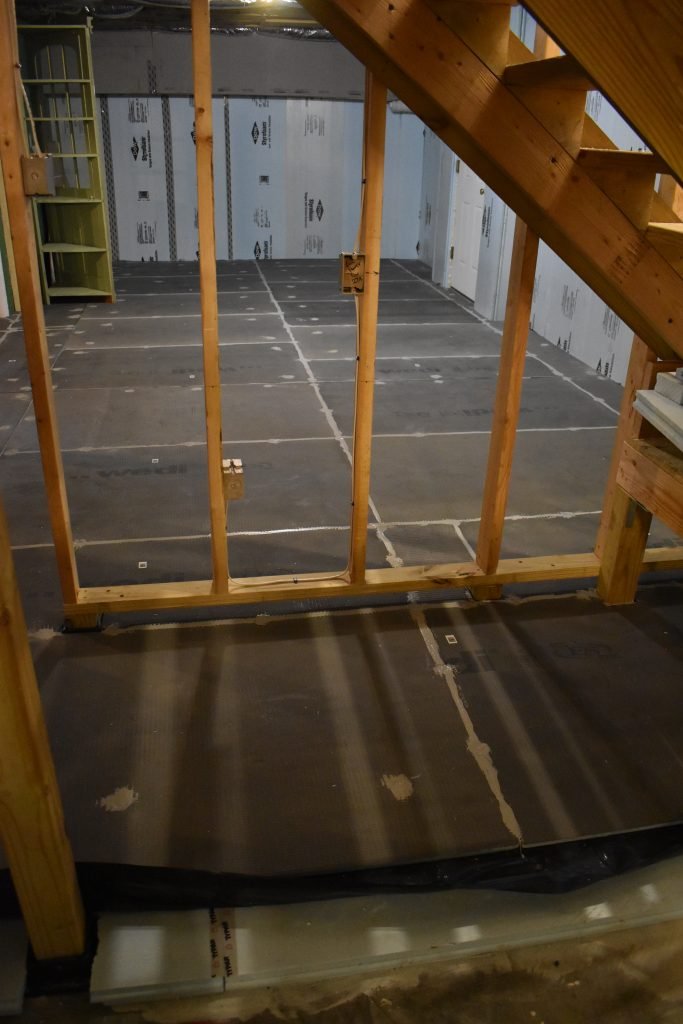
The staircase presented a unique challenge. The setup was eleven steps down to a landing, then a turn and three more steps down to the floor. There were drywalled walls on either side of the main run of stairs which also helped support the staircase structure. I knew I wanted to eliminate the drywall on my workspace side to be able to see through and have light travel through the stairwell, and I knew I needed the wood elements of the staircase, like the stud walls and posts holding up the landing to be not touching the cement floor, in case of future flooding. I also knew I'd need to install a stair lift to get Jack down in the basement once it was finished. More on that later.I researched and purchased two different styles of plastic fittings to go on the bottom of the new pressure treated columns and supports I was going to install, to keep the wood off the floor (the black pieces in the photos above). I dismantled one of the walls entirely and used two pressure treated columns in place, to carry the load of the staircase as well as the short beam and wall above, which had previously been supported by the stud wall. With the other wall, the one separating my workspace from the staircase, I removed the bottom plate and cut the bottom off of each stud, then screwed the plate back in place. Between the bottom plate (which was now floating a few inches above the floor) and the basement floor, I installed four of those plastic supports and short pieces of 4" pressure treated post to hold up the wall.I dismantled the platform, then re-made it with pressure treated posts to support the weight, with those plastic supports under the wood so that there was nowhere where wood was directly touching concrete.
Insulation
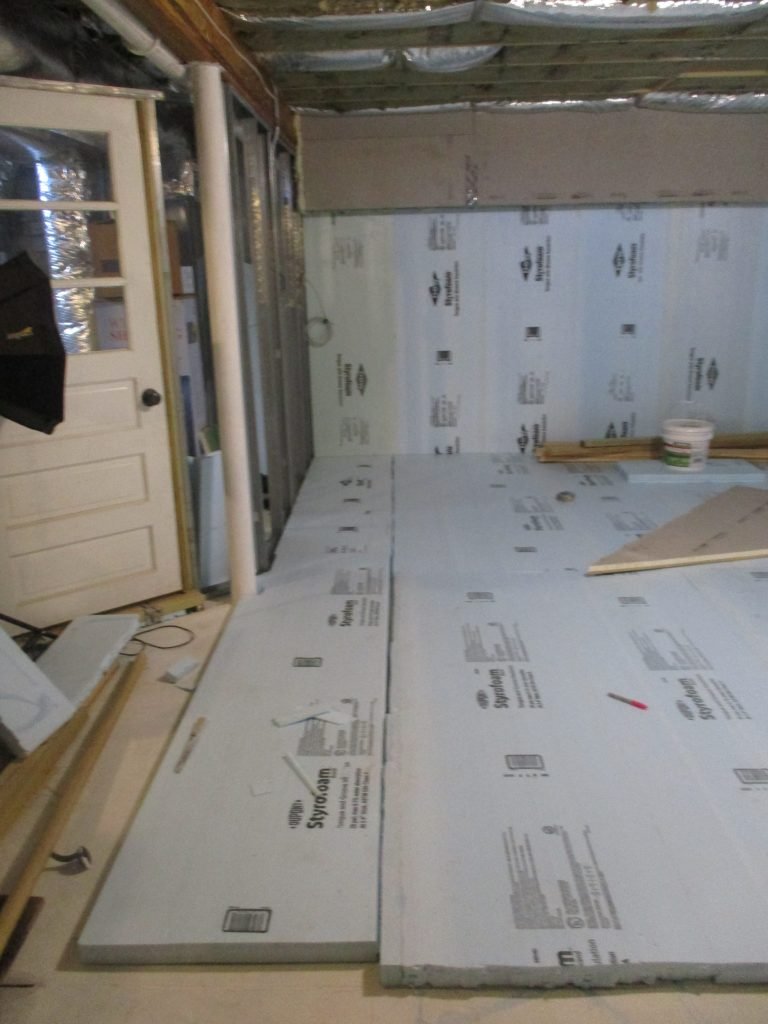
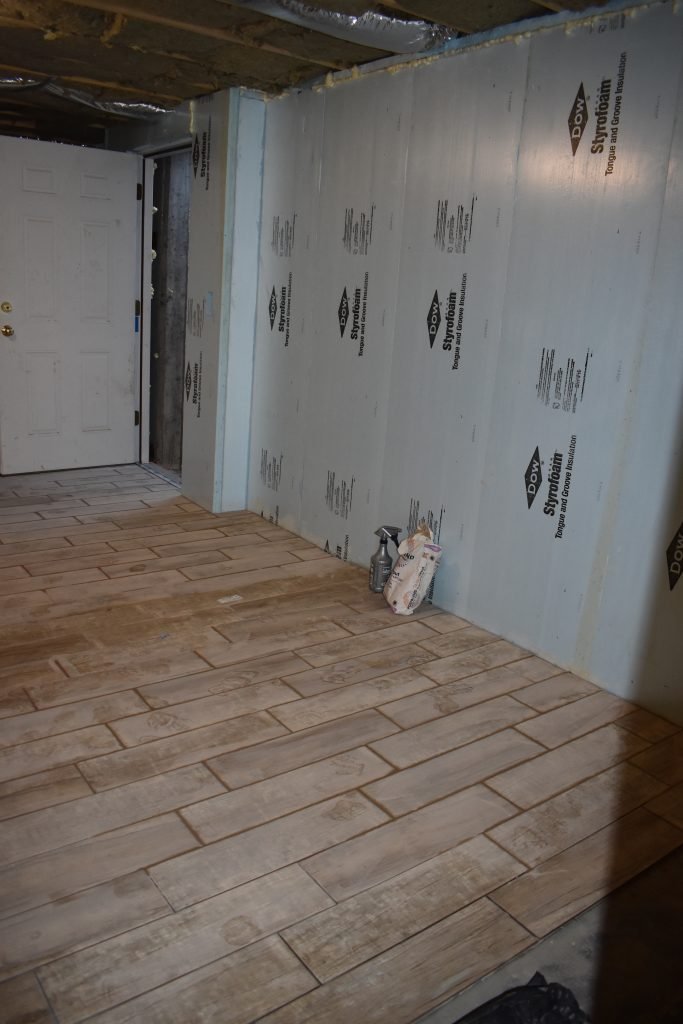
 Rigid foam XPS insulation is really the best thing to use against concrete because it doesn't absorb moisture. I decided to glue this 2" R-10 tongue-and-groove XPS to the walls and floor. This space won't be as well insulated as the rest of our house, but since the temperature is moderated by the surrounding ground and house above, it should be enough!
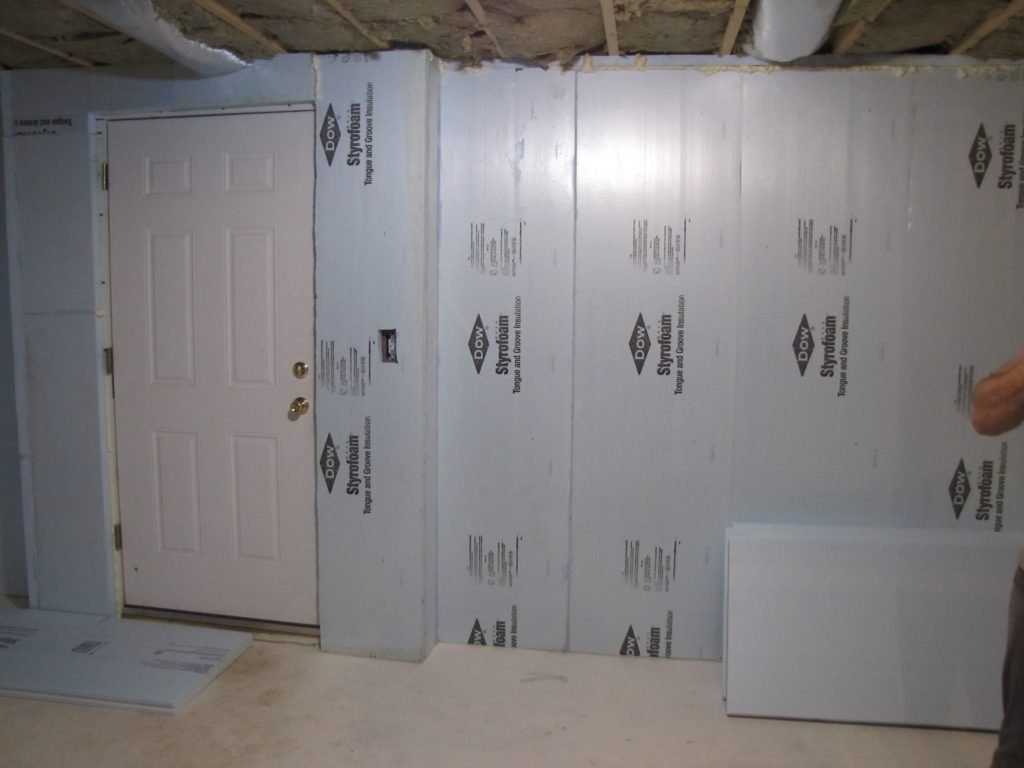 The most time consuming part of this process was cutting the XPS to fit the walls exactly. I also cut 1.5" pieces to fit the space on the top edge of the foundation walls between the sill plate and the outer edge of the wall XPS, then filled in the gap with expanding spray foam.The most challenging part of the floor insulation was leaving a gap for the expansion joints in the floor (See first photo above). Basement floors above a certain size have to have cuts made in them to allow for expansion and contraction, so the slab doesn't just break apart in odd places when it moves. After much research, I realized I would have to leave these joints flexible all the way up THROUGH the finished surface, which was to be ceramic tile. I had to stuff thin strips of flexible foam backer rods and sheet insulation into these cracks and use silicone caulk to keep it all in place. This is only the first layer--I'd have to do the same with each layer I applied.
The Floor System

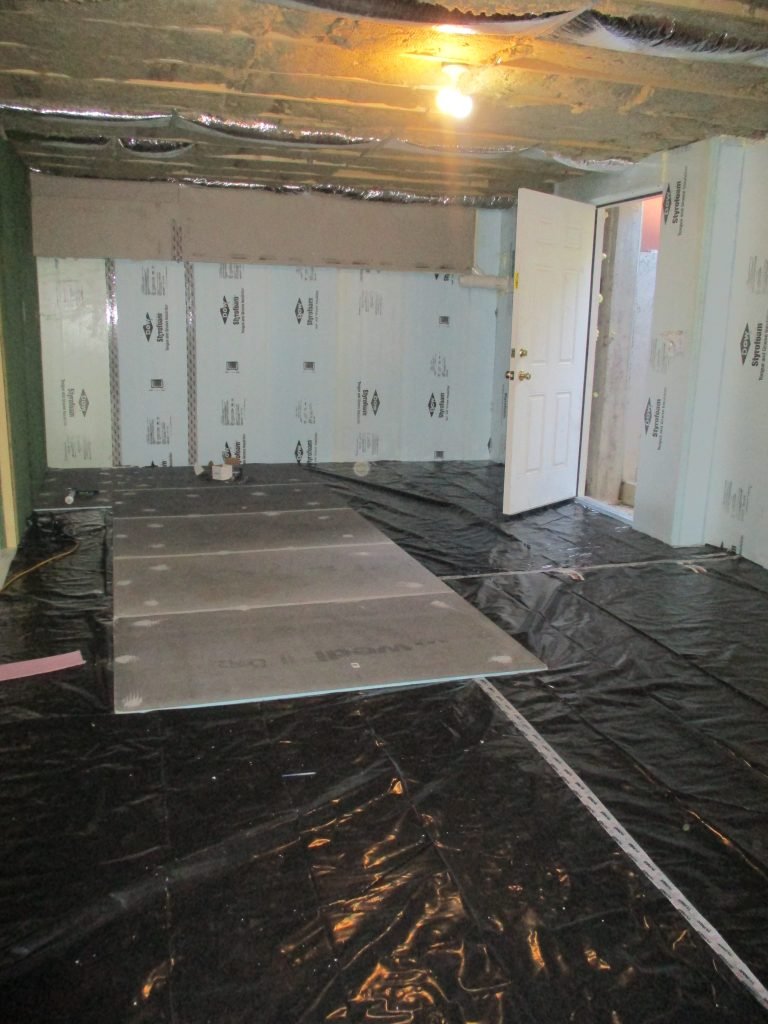
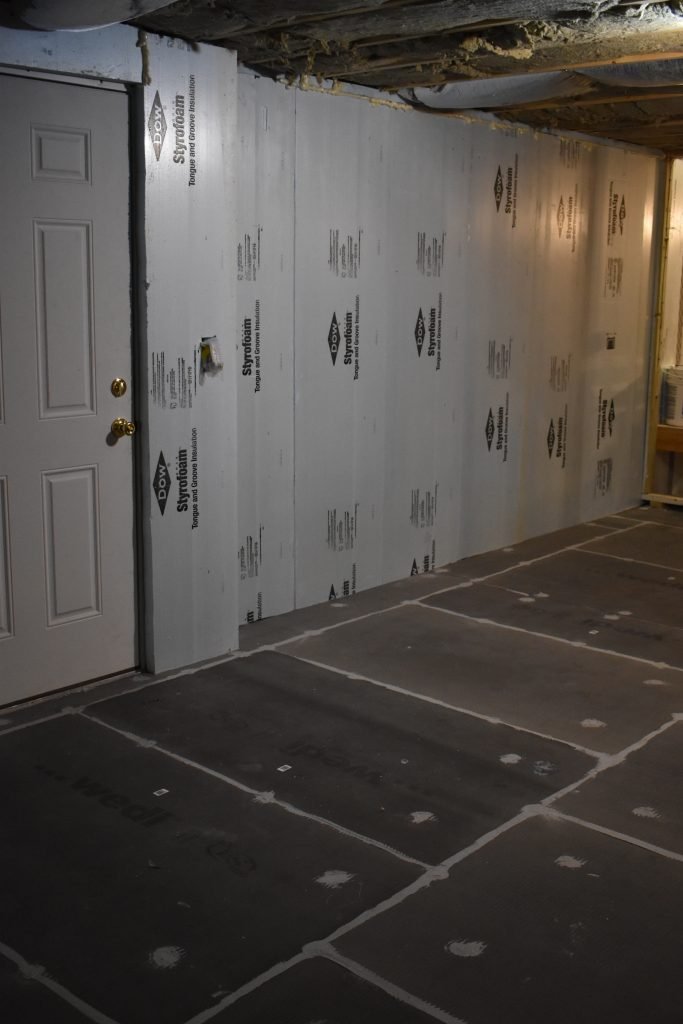

The next layer of the floor was 1/2" Wedi boards, which are a waterproof fiberglass reinforced rigid foam board with resin mortar on both sides. These are the same panels I used to create a waterproof wetroom style bathroom in our house. I had to seal the joints and screw penetrations with a silane polyether resin to make everything completely waterproof. I screwed these boards directly to the concrete floor by pre-drilling holes with an 8" concrete drill bit for my hammer drill, 4" concrete screws and special washers that lock into the panels.If done correctly, we could pour water over this floor and none of it would get to the concrete floor below. Ideally, the opposite would happen if water were to seep up through the concrete floor.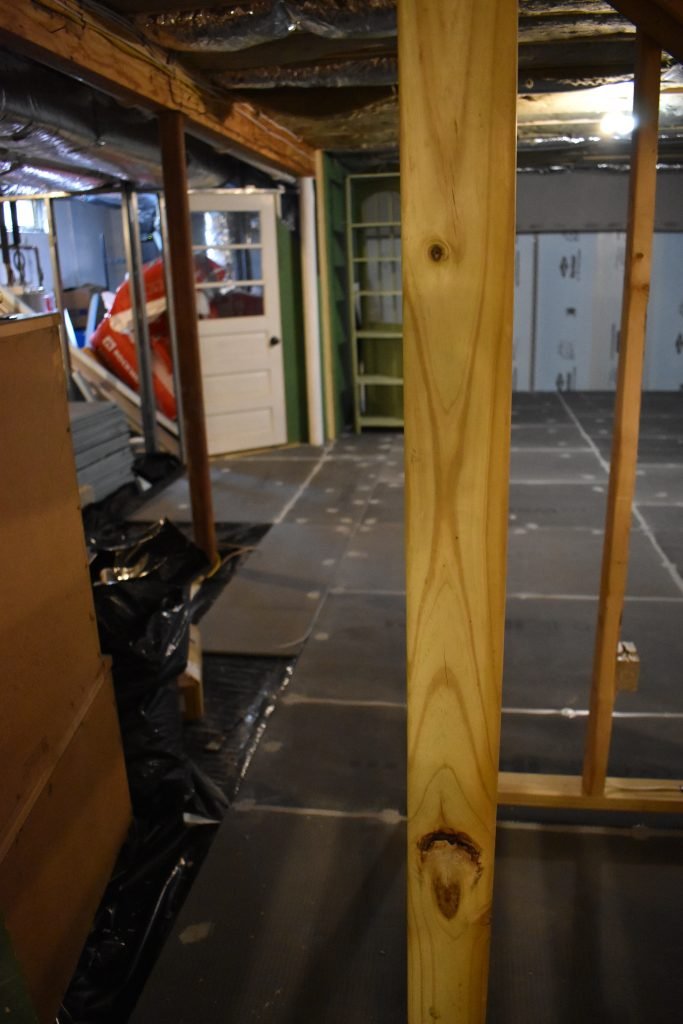
Finish Flooring
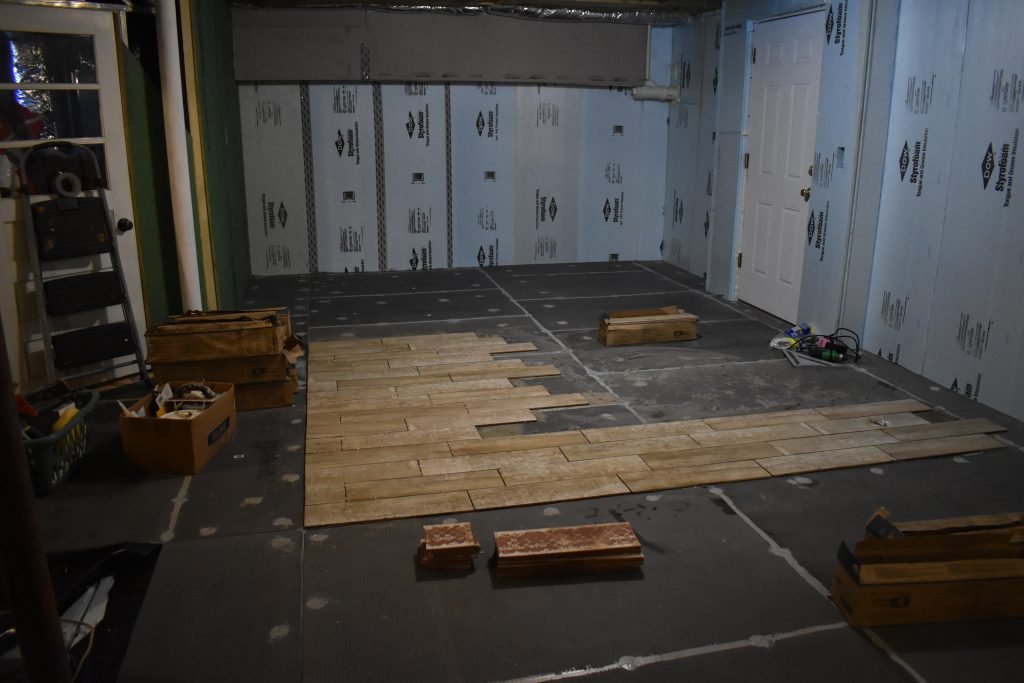
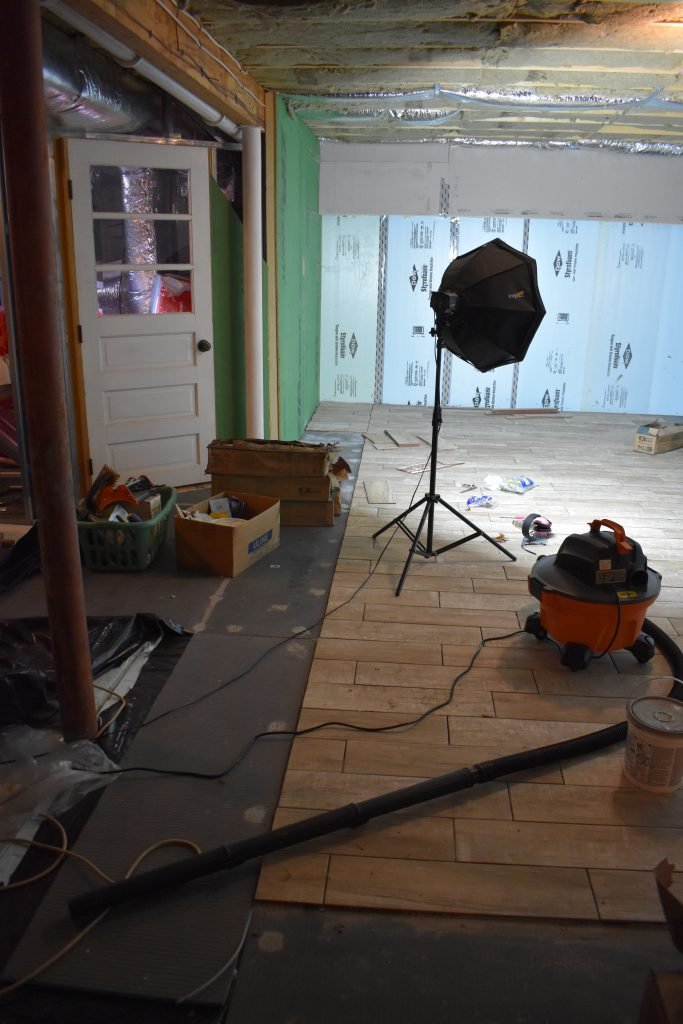
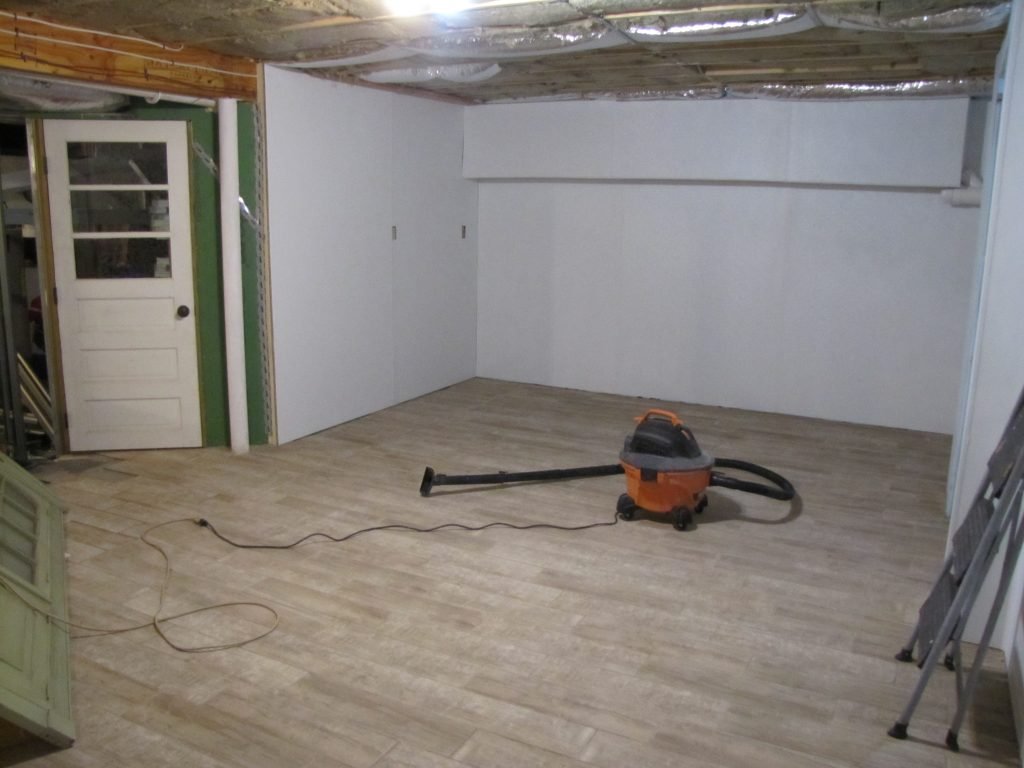
I chose ceramic tile for the finished floor surface because it's completely waterproof, tough, long lasting, and low maintenance. The installation is time consuming and hard on the hands, but I knew it'd be worth the extra time and effort to have a lasting floor surface. The ceramic tile I chose was a variegated beige color and patterned to look like wood. Some of my friends who have come over and seen the floor thought it was wood at first sight!After the ceramic tile is laid and dried for at least 24 hours, the seams have to be grouted, which is another pass down every row, and very time consuming and hard on the hands.The final step was cleaning the film of grout from the tile surface within a few days of application. I did the whole floor in several large sections as time permitted, so each of the above described steps had to be done multiple times.

The Finished Wall
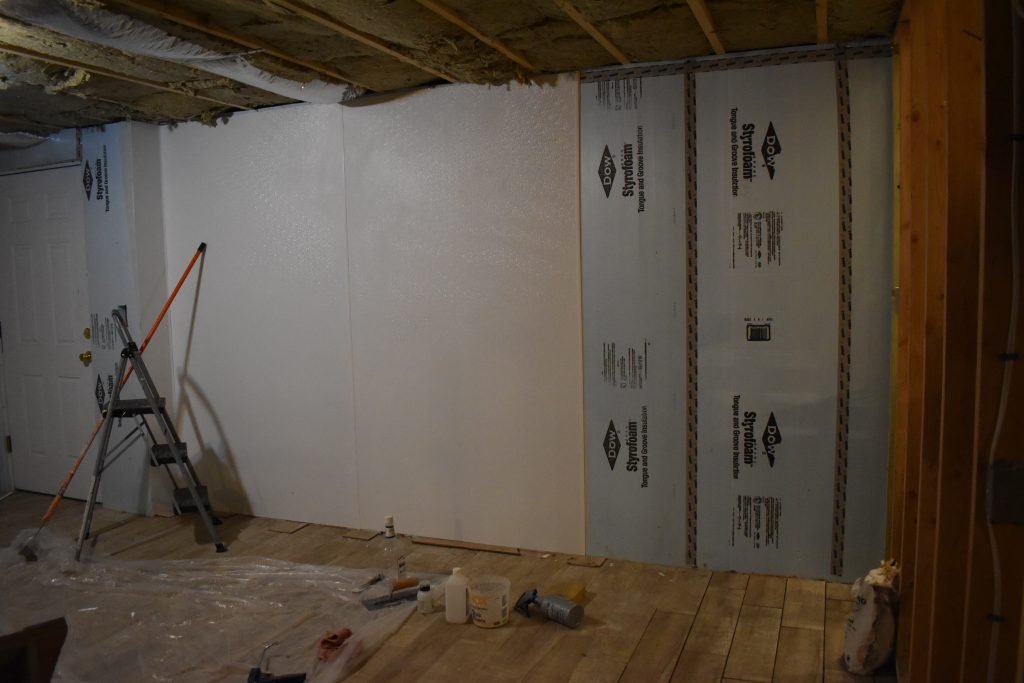
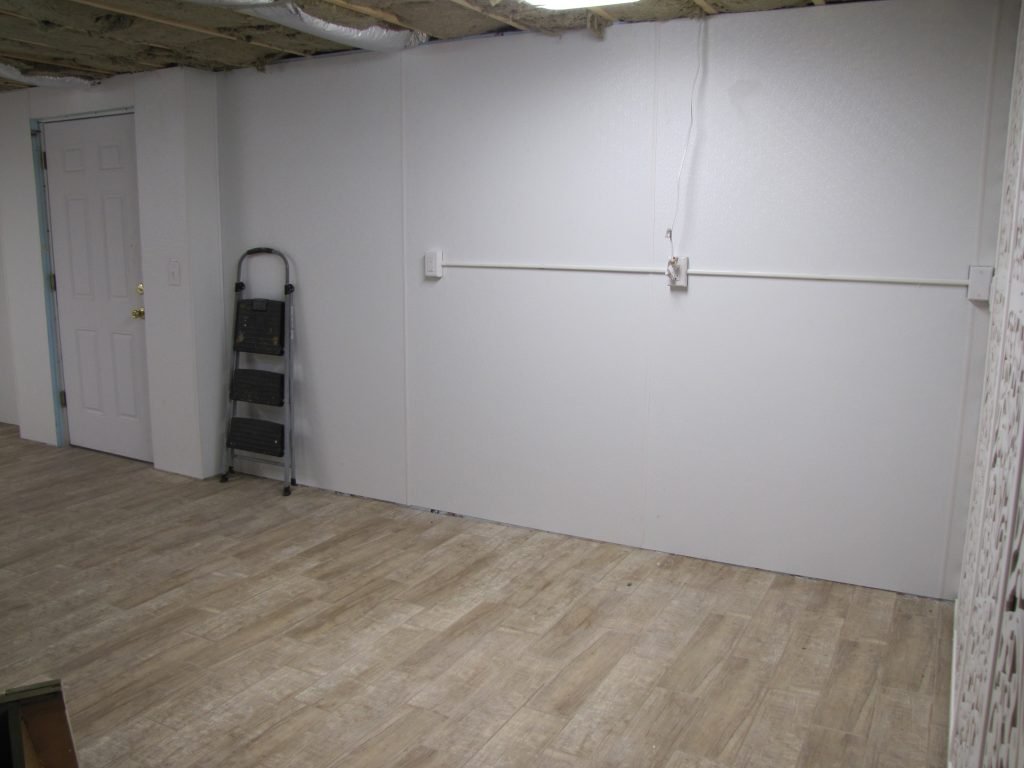
 For a finished look on the walls, I decided to choose a fiberglass reinforced plastic panel which could be glued to the foam insulation. I had to do research to make sure it was possible to glue these two layers together and found a specific glue that was compatible with both surfaces to create a permanent bond. The plastic would make the wall surface impervious to water, and the fiberglass makes them stronger and fire resistant. The panels came in flexible 4' x 8' sheets which I then had to cut to the 80" wall height and lengthwise to fit each wall surface. I tried using a sharp knife and scoring each cut by hand, but that turned into a very difficult and painful (for my hands) process. I ended up using a circular saw to cut the panels, wore a respirator, gloves, and safety glasses, and vacuumed up after each cut to reduce the spread of the fiberglass-infused plastic. It was a messy job!
Trimwork, Ceiling and Closet Doors
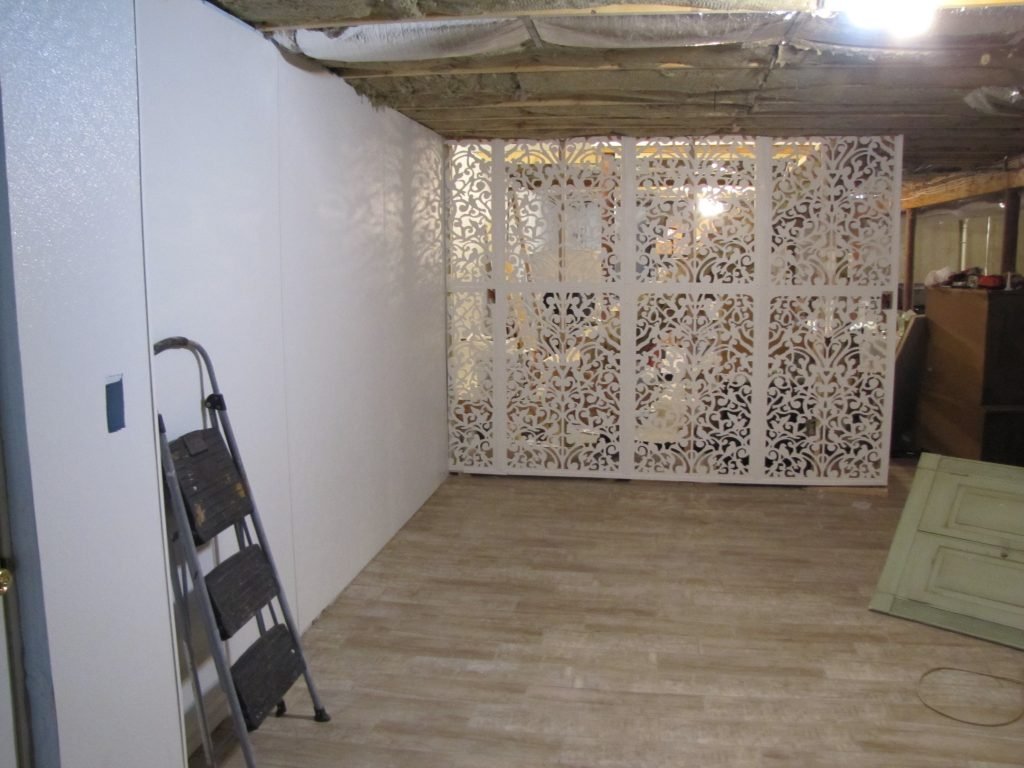
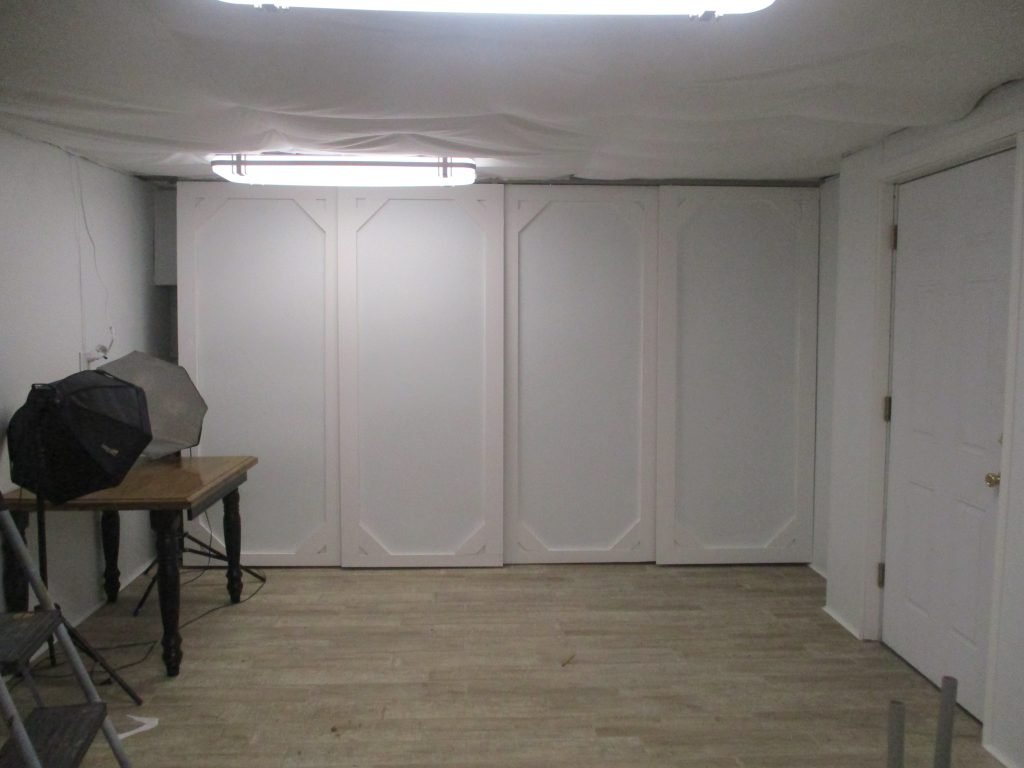
I knew going into this project I wasn't going to be installing a hung ceiling or any structural material to the ceiling. Before starting, I talked to someone in my local tax office to find out about the tax increase when finishing the basement, since in Connecticut our houses are taxed partially on "living area" which basically includes any areas of the house that are finished and heated. It's complicated, but what I learned was that having a finished basement does increase the "living area" of the house for tax purposes, and raises the taxes slightly. However, if you finish a basement only partially, so that two out of the three surfaces are finished (ie. walls and floor but not ceiling), the area does not qualify as "living area," it qualifies as a "rec room." Rec rooms raise the total property taxes less than a completely finished basement. I decided then that I didn't need a finished ceiling. I found a flame-retardant fabric and bought enough yardage to cover the ceiling in my work area, then tacked the long lengths of it up to the ceiling with white thumb tacks.I turned the unattractive area below the septic waste pipe bulkhead into a storage space and made some custom doors from extra plastic paneling and wood trim we had leftover from our house construction. Then I painted the wood white to blend with my color scheme. I hung the four doors on two sliding closet door tracks and installed the hardware on the backs of the doors. Basically, the four doors hang freely and slide left to right, two on the front track, and two on the back track so they overlap. There is no bottom track because I didn't want to drill into the ceramic tile. I installed hanging plug-in LED strip lights in the top of the closet with an extension cord with a built-in switch.
 Everywhere that a wall surface met a floor surface, door, or ceiling surface was a gap that I had to fill in with a piece of trim. It took quite a while to research and order all the different kinds of trim that would work in this project. Again, I didn't want wood to be involved so I ordered all plastic (PVC) trim and simply glued it in place.
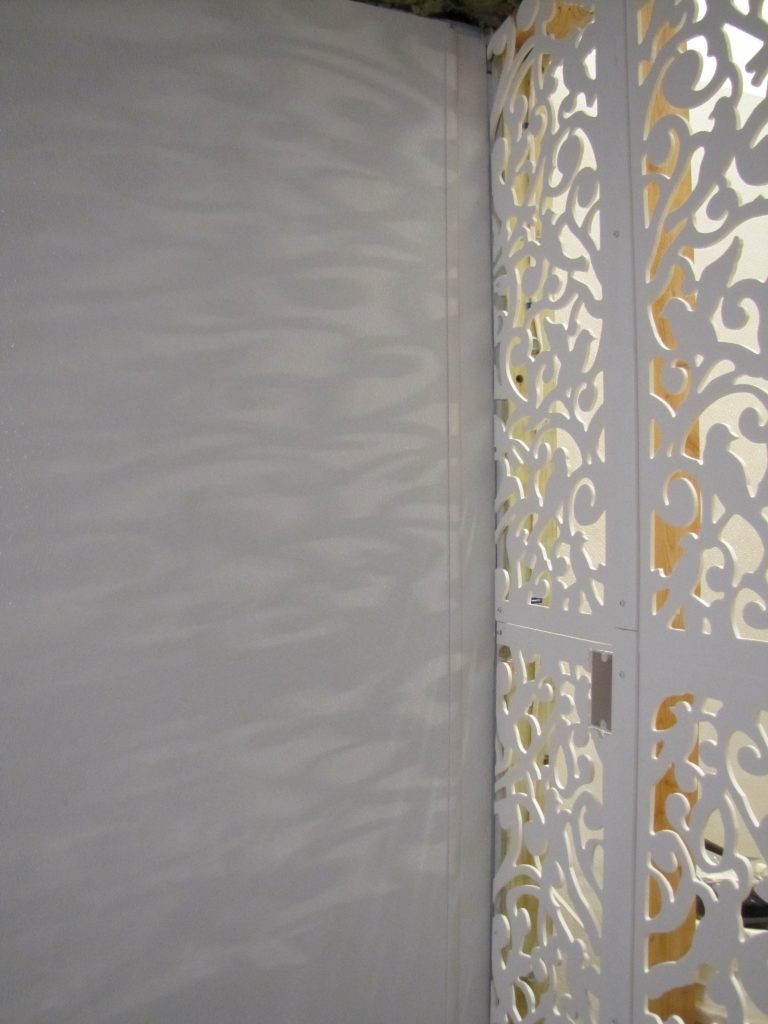
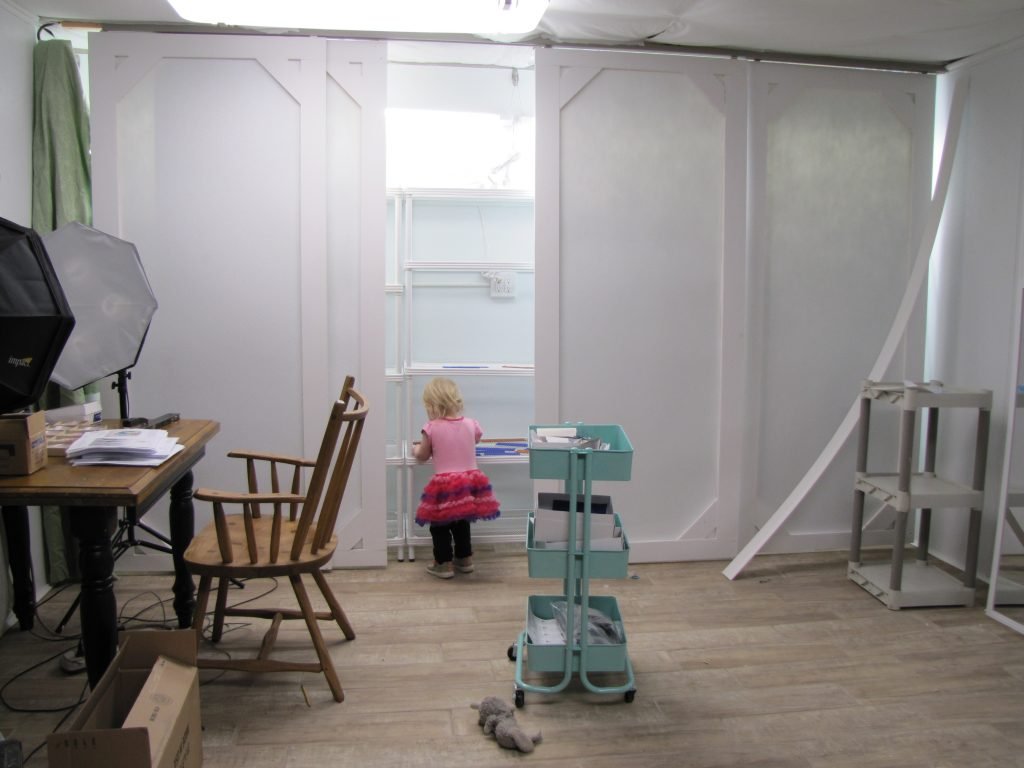
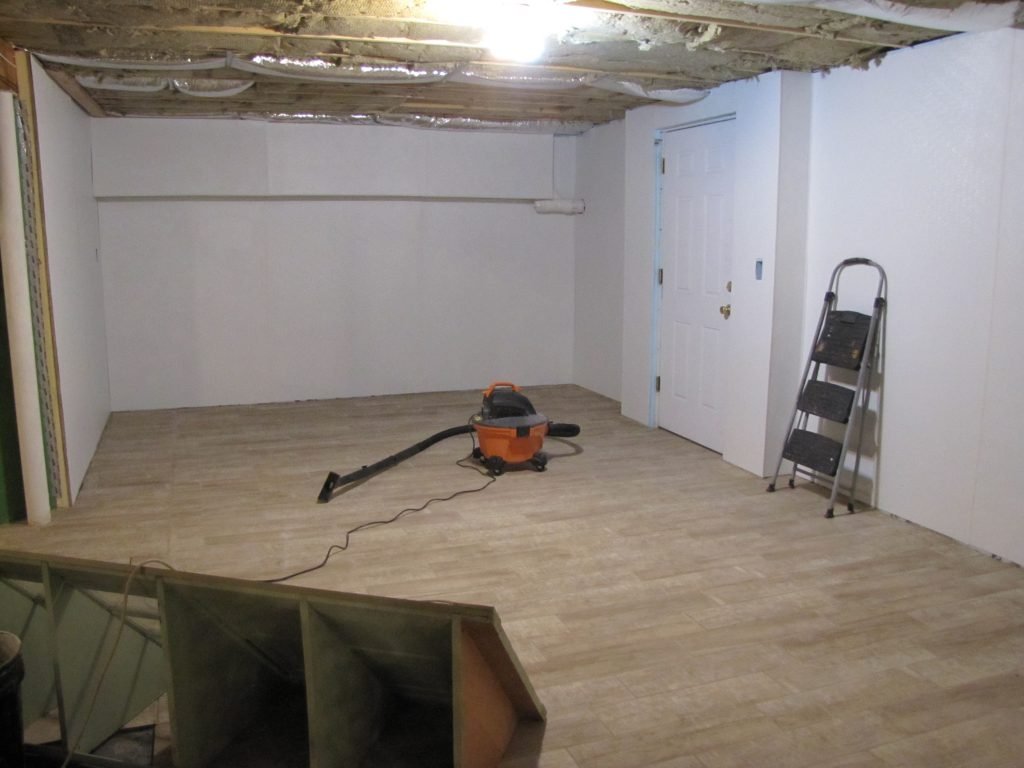
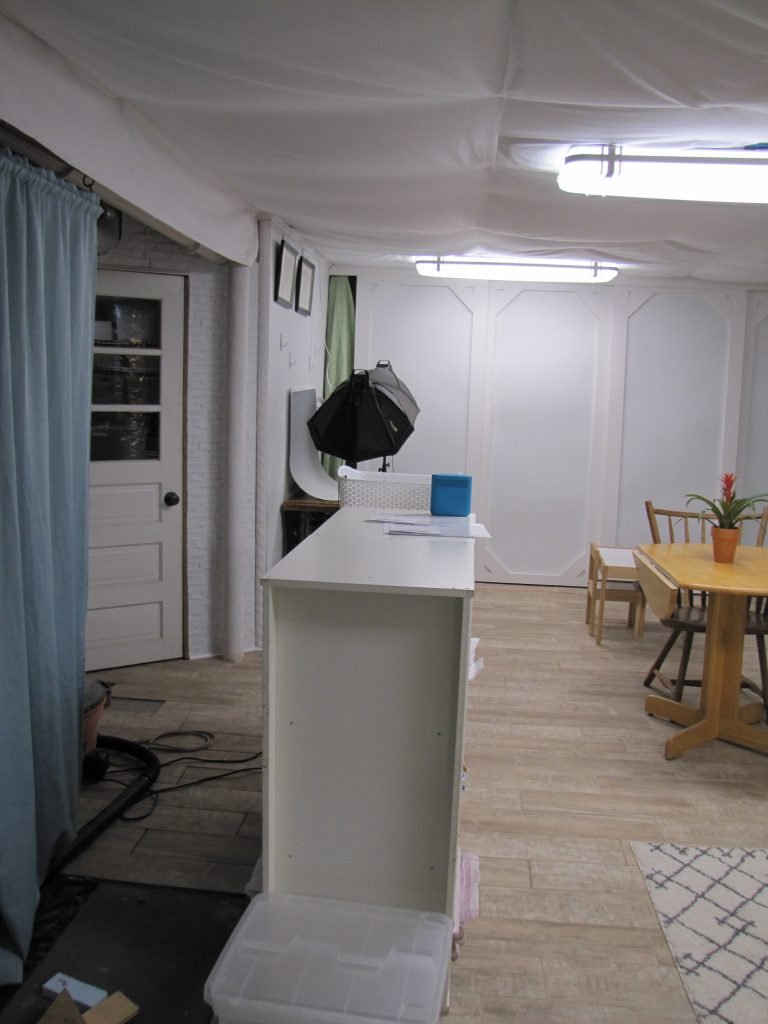
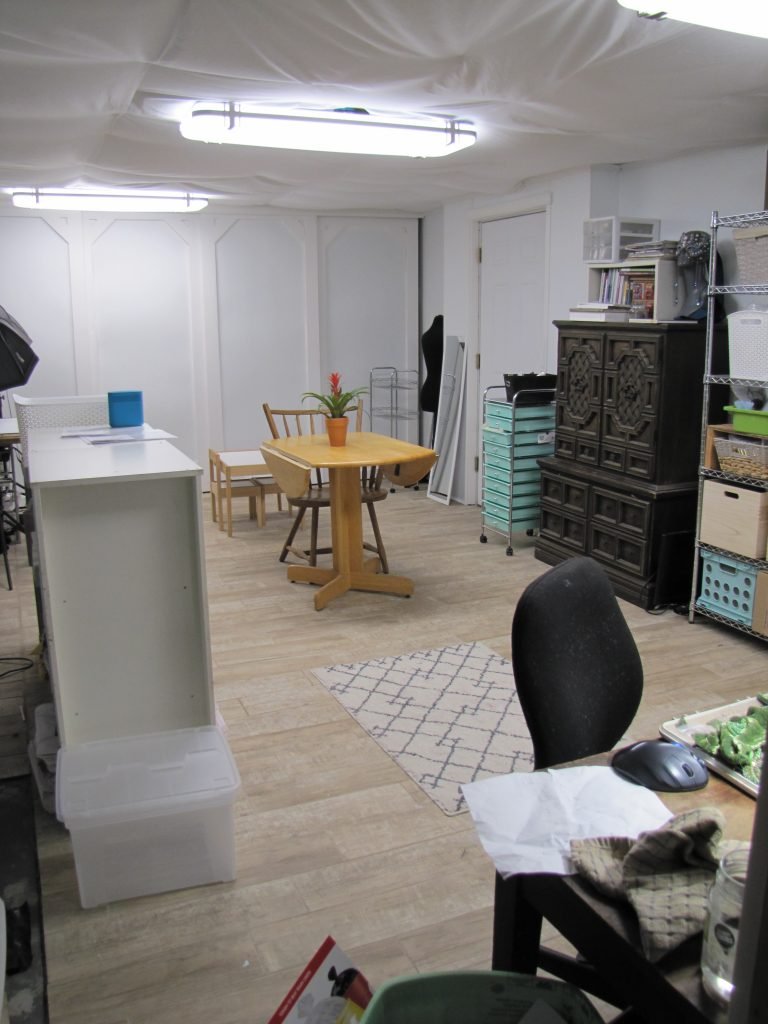
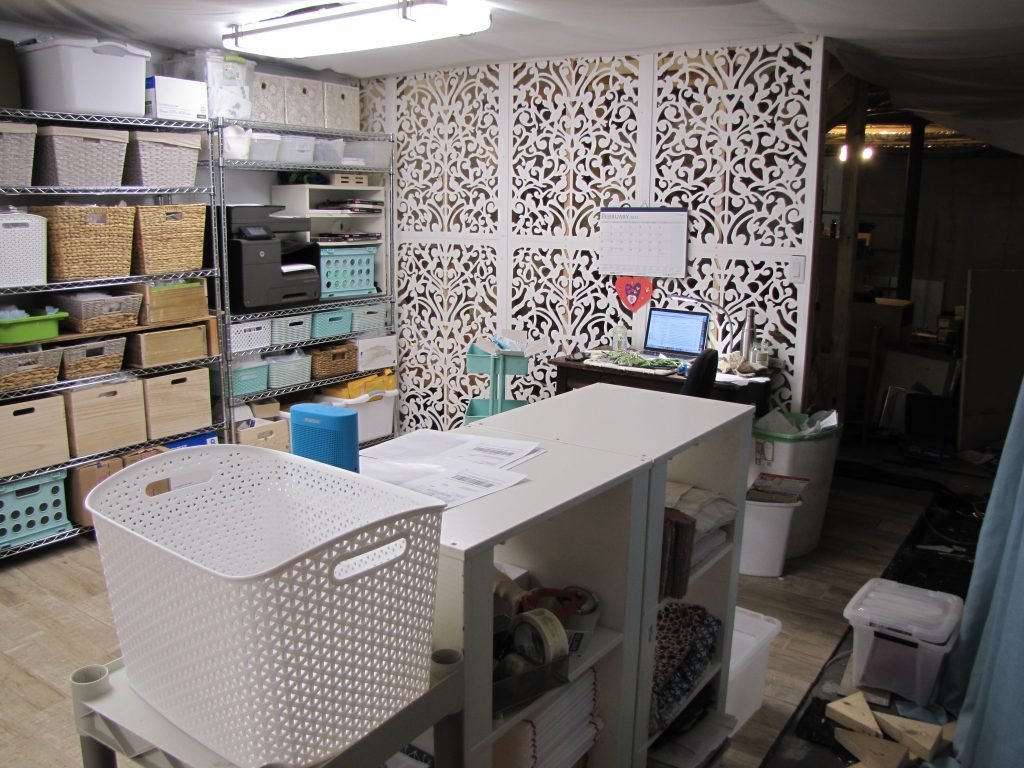
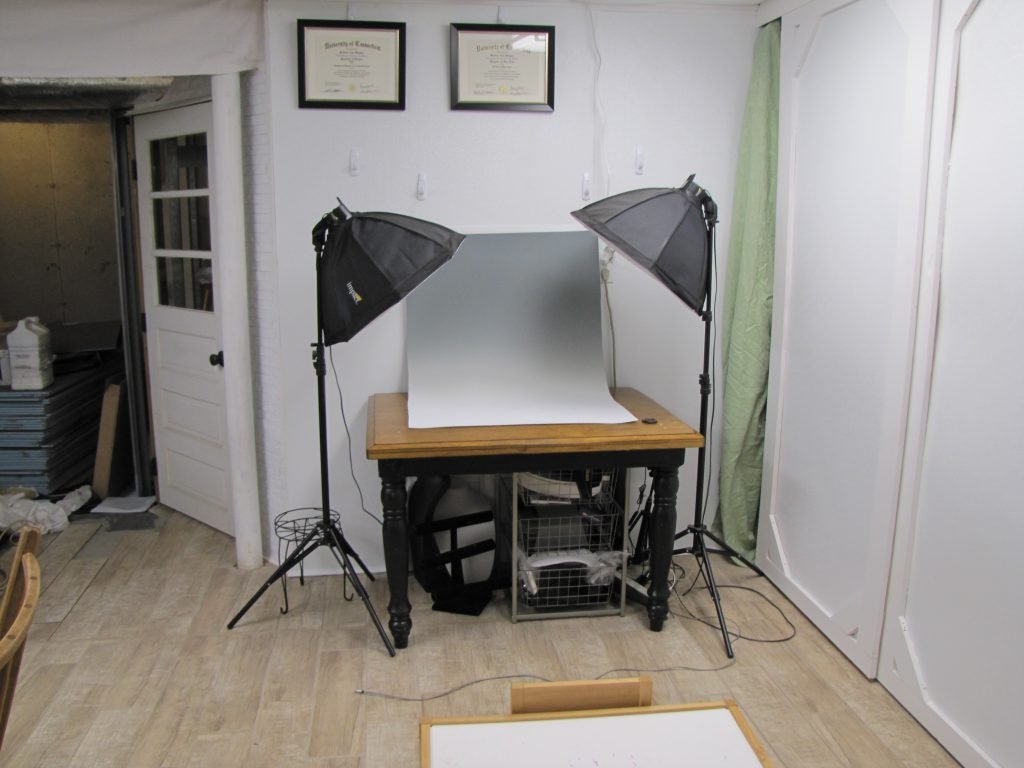
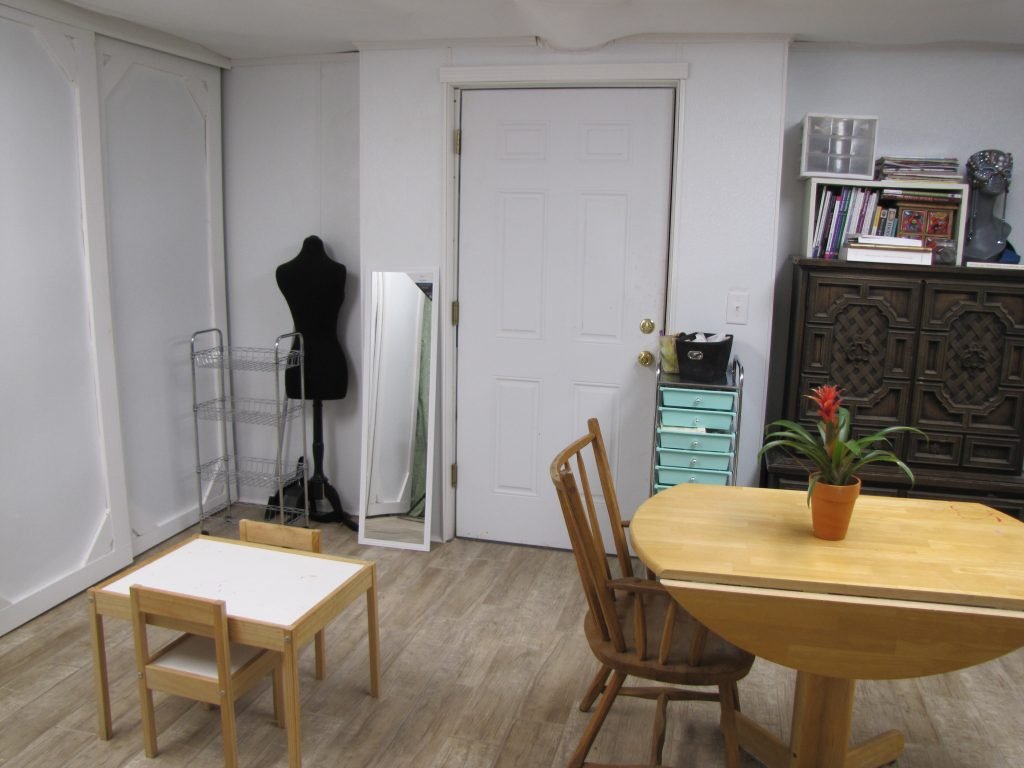
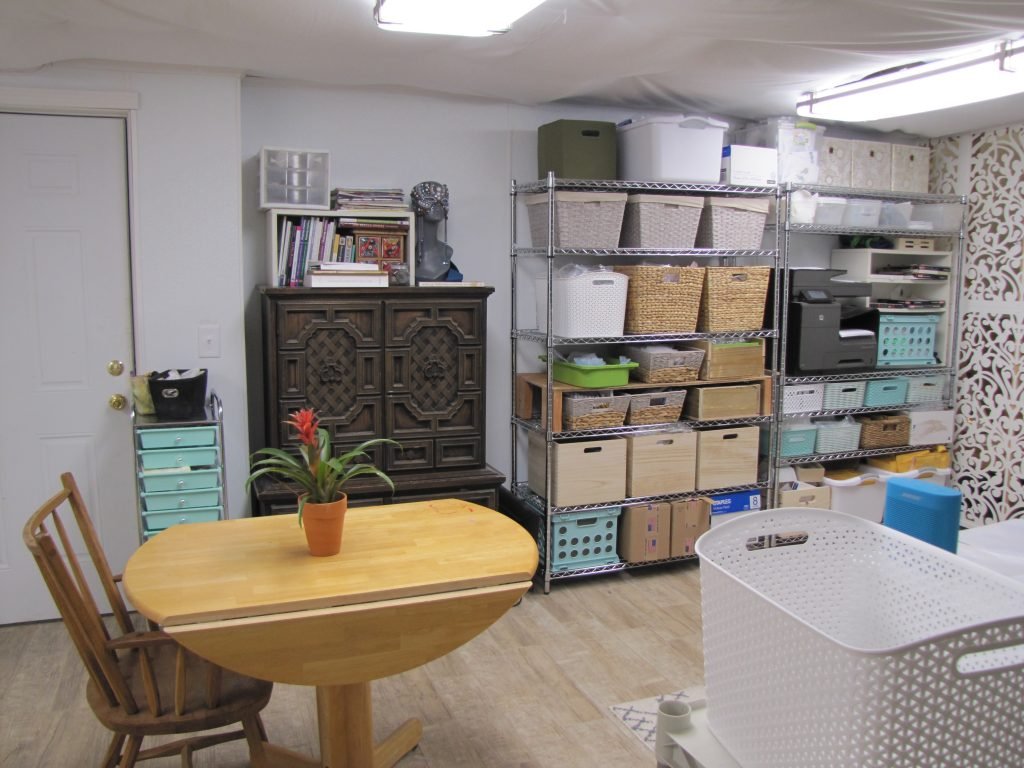
Finish Line and Moving In
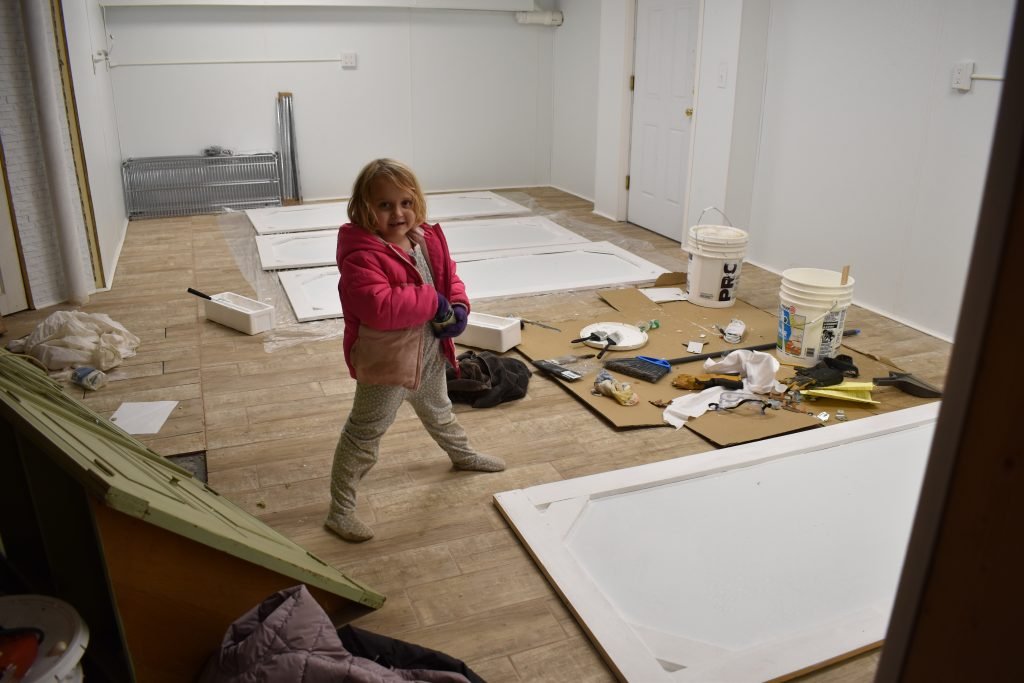
Once everything was finished, it took quite a while to establish the placement for all of my work items and a system of organization for good work flow. I didn't want to rush this process, so I slowly moved into the space piece by piece, deciding first where my photography table and my computer desk would go. After several months of contemplation and slow moving, I came up with where the rest of my objects should live in order to have the best possible flow to each process involved in my business.It was incredibly time consuming to go from what could only be described as utter chaos to an orderly way of arranging tools and materials. I went from having tiny storage spaces in multiple rooms of a small, cramped apartment (like the attic, living room closet, and bedroom), to having a sprawling unorganized (but at least consolidated) space in our unfinished basement, to finally having this finished and organized workspace for myself.What a difference it has made working in a space where I know 99% of the time right where something is!
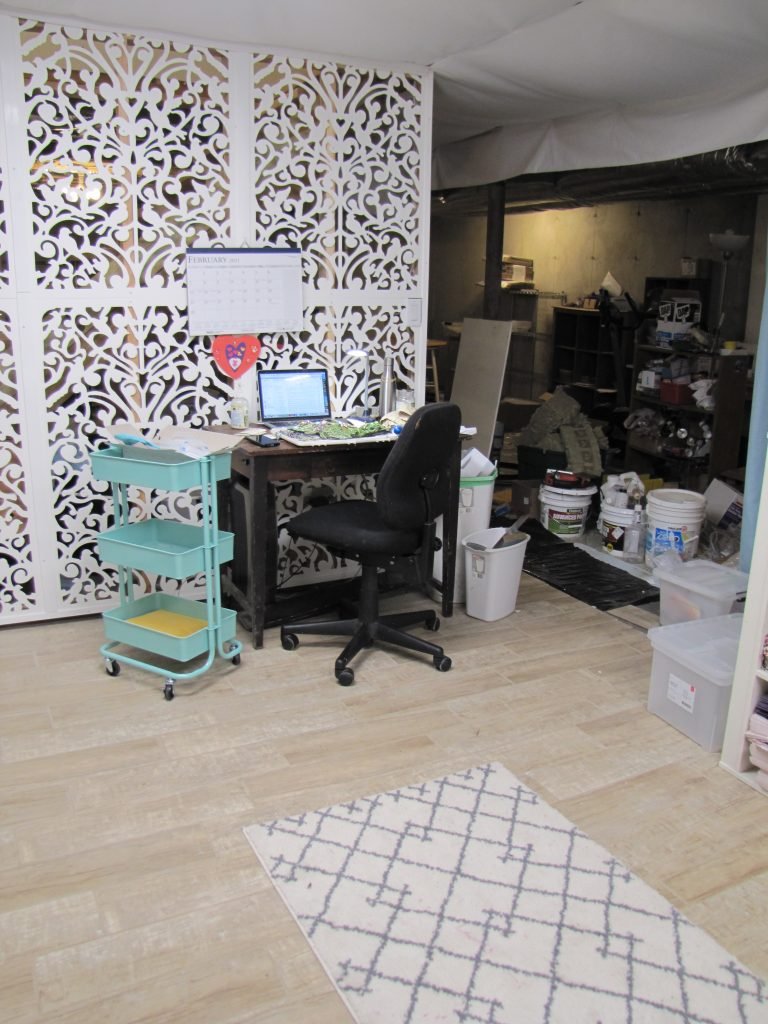
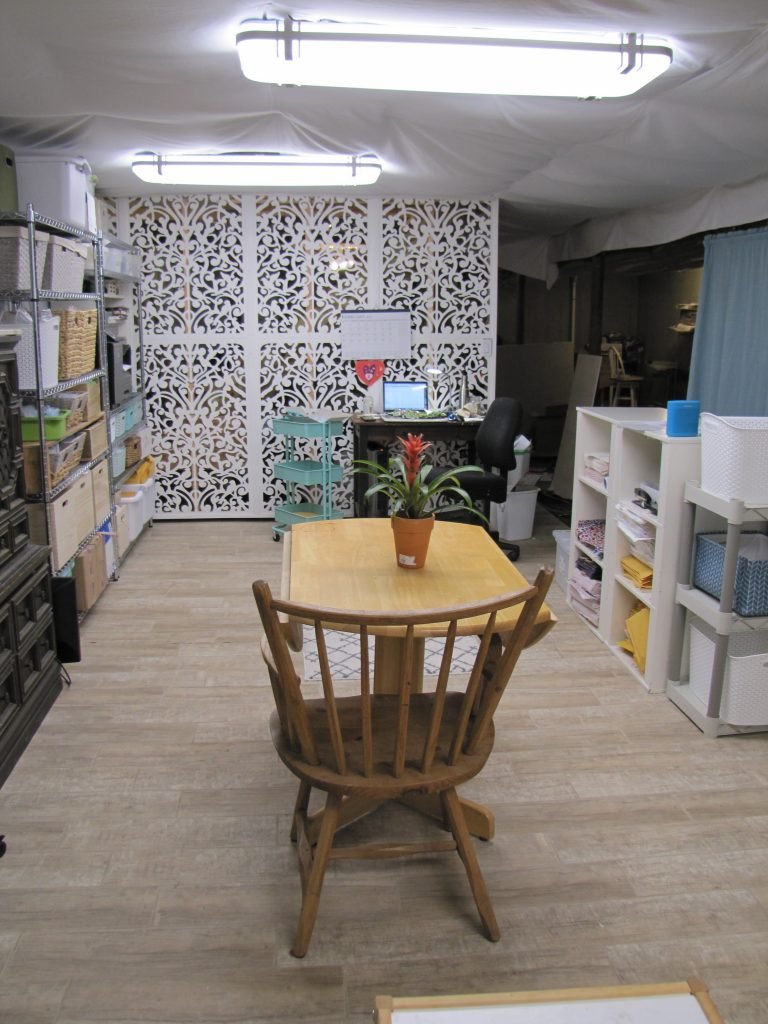
My workspace is finally done, but the work is far from over! Next I have to repeat the same process described above on the remaining 2/3 of the basement which is still unfinished, so we create a small craft area and have Make A Wish install a sensory room for my son Jack in the larger remaining area. Slow but steady progress is how it's done around here and I'm happy to at least have my dream workspace after more than a decade of working in utter chaos!